How to Make Focaccia with Overproofed Sourdough Bread
Last Updated on January 16, 2026 by Stephanie Gilpin
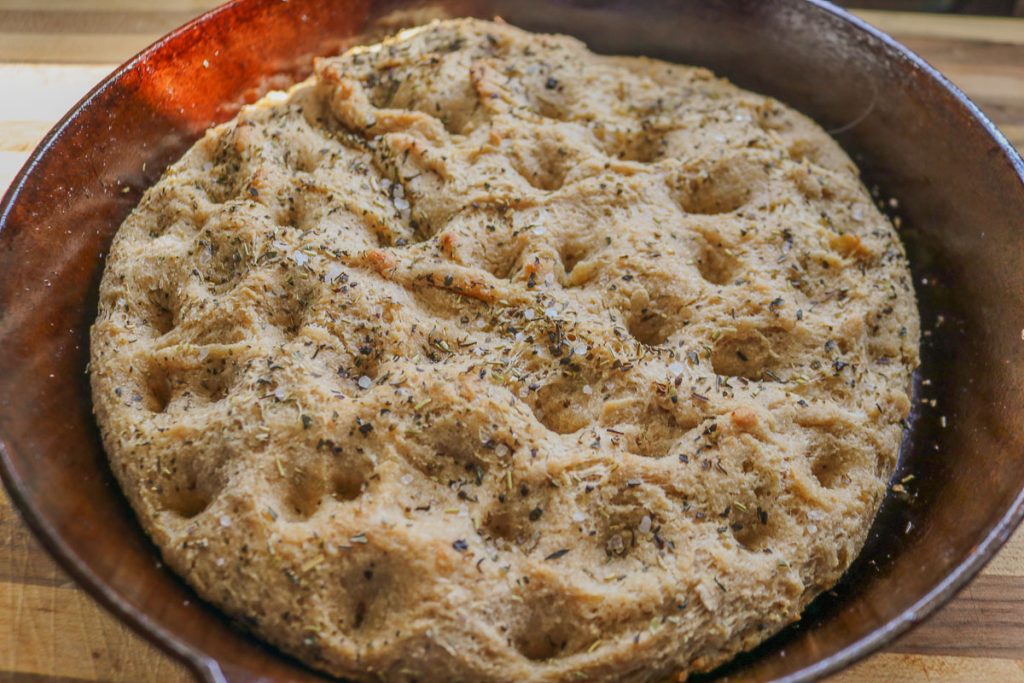
Deliciously soft on the inside and a little crispy on the outside, this sourdough focaccia is delicious to serve as thin sandwich bread or dipped into a warm creamy soup.
If you have been on your sourdough journey for long, you are likely to have experienced over-proofing your dough. Over-proofed dough happens to the best of us—a little too much time on the counter, and suddenly your dough has risen past its prime and is now a sad deflated blob.
But don’t toss it out! Instead, turn it into this simple sourdough focaccia recipe.
What to Do with Overproofed Sourdough? Turn It Into Delicious Focaccia Of Course!
As a homesteader and someone who loves cooking from scratch, there’s a certain satisfaction in turning something that seems like a waste into something delicious.
If you’ve ever wondered what to do with over-proofed sourdough, this is the perfect solution! Not only does it save your precious dough, which is filled with gut-healthy bacteria from the fermentation process, but you’ll also get to enjoy the crispy, chewy goodness of focaccia.
Focaccia is a homesteader’s dream: easy to make, endlessly customizable, and a great way to use up ingredients you already have on hand.
What is the Best Kind of Sourdough Bread Dough to Make into Focaccia?
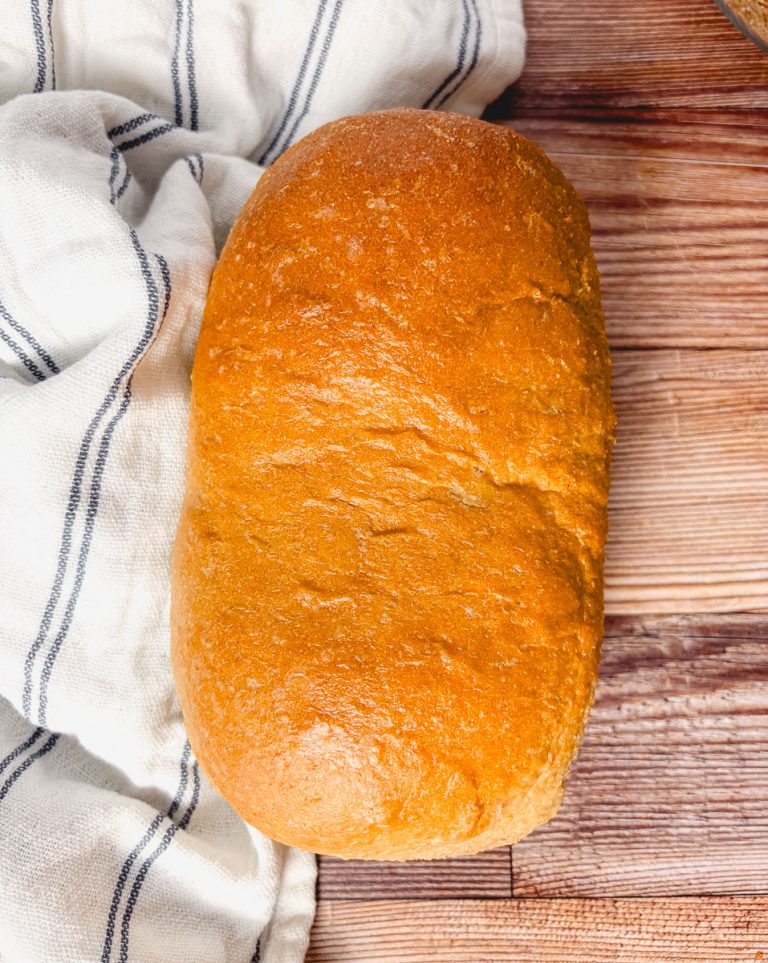
While almost any bread dough will work, I prefer a simple sandwich bread dough or traditional sourdough boule dough. I most frequently make a sourdough boule the “cheater” way—my beloved no-knead “unloaf” recipe, which is PERFECT for busy moms and anyone with a hectic schedule.
What is an unloaf, you might ask? It’s a simple sourdough boule that requires no stretch-and-folds and no kneading. Sounds heavenly, right? If you find yourself crunched for time, I highly recommend checking out my sourdough unloaf bread!
Ingredients:
- Over-proofed sourdough bread dough (any sourdough bread dough should work, I would avoid overly sweet doughs.
- Olive oil (3-4 tablesoons)- I like to use a good quality oil as it will impart flavor into the crust of the focaccia.
- Herbs & Seasonings (optional)- to sprinkle across the top of the focaccia.
Helpful Kitchen Tools:
- 10″ Cast iron skillet or other oven safe baking dish
- Optional- Instant read thermometer-I like to take the internal temperature of my bread to ensure the perfect bake, every time.
Step-by-Step: How to Turn Overproofed Sourdough into Sourdough Focaccia Bread:
Begin with room temperature dough. If you let your dough rise in the fridge, simply let the dough thaw out on the counter until room temperature.
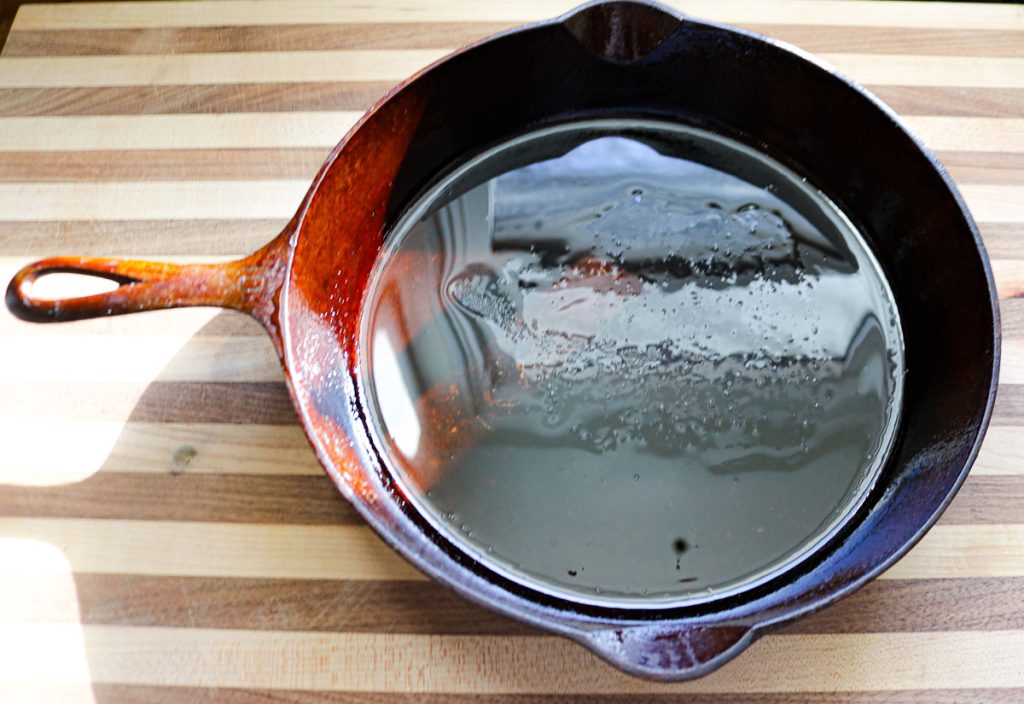
1. Prepare Your Cast Iron Pan
Start by generously greasing your cast iron skillet (or any non-stick baking dish) with olive oil. This step is key to getting that beautiful, crispy crust around the edges. The oil will also help the dough release easily from the pan once it’s done baking.
I prefer a round pan like a cast iron skillet to bake in because you can easily shape the focaccia into a pretty circle. However, you could also use a small sheet pan to bake in as well. Skip using any kind of parchment paper or foil, and generously coat the pan of your choice with the olive oil.
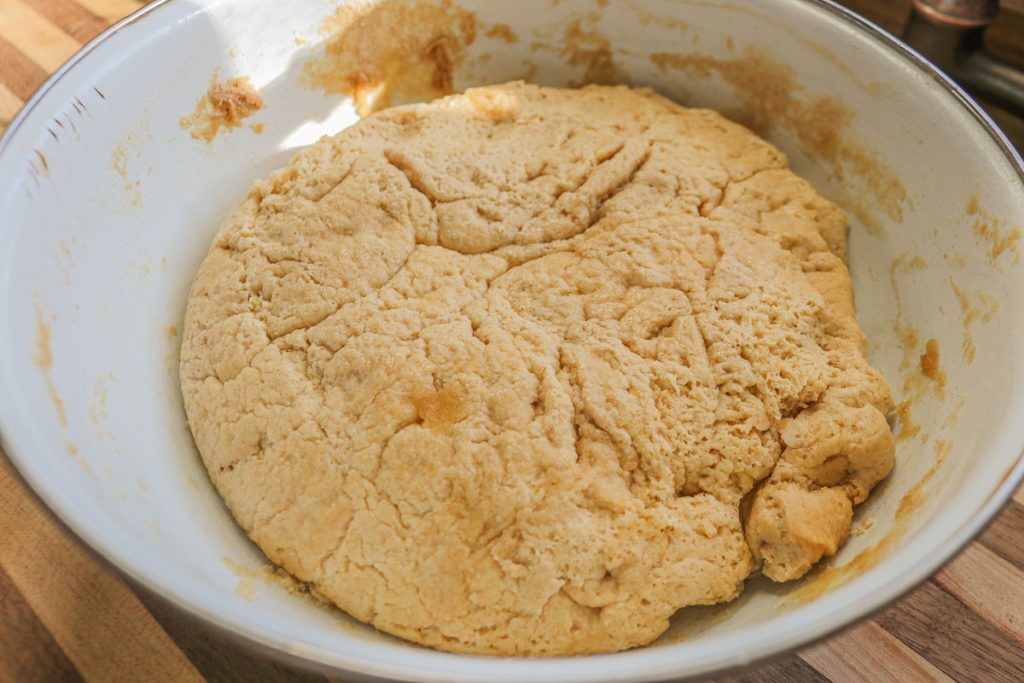
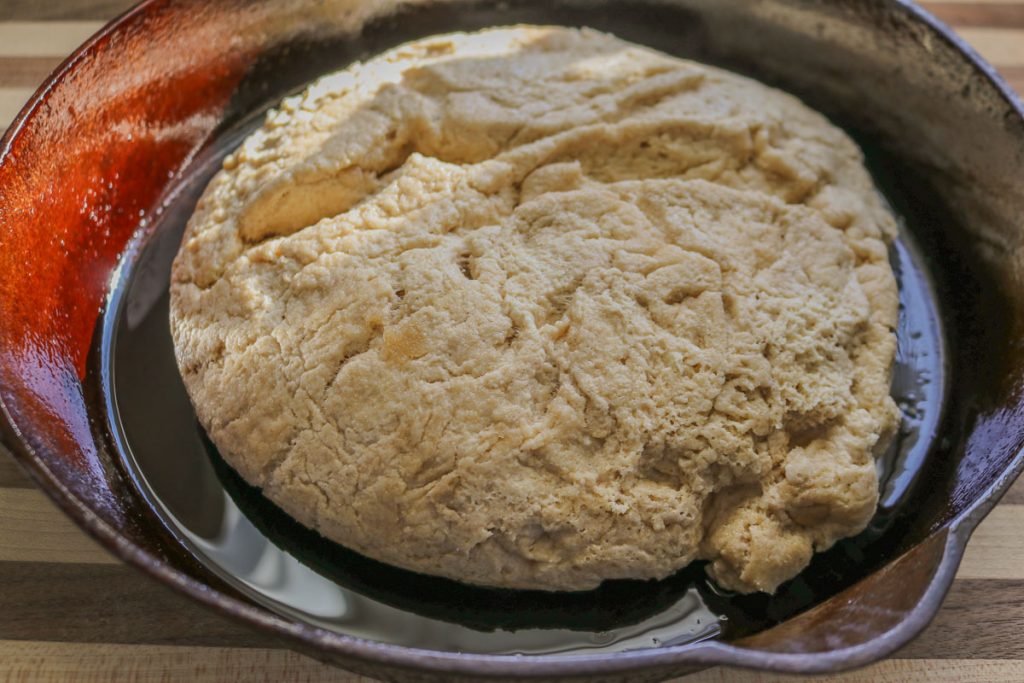
2. Press the Dough Into the Pan
Your over-proofed sourdough will likely be soft, bubbly, and a little loose—and that’s exactly what you want for focaccia! Gently turn the sticky dough out onto the pan, gently pressing it to spread it evenly. You want the dough to be about 1-1.5 inches thick, but it doesn’t need to be perfect.
Rustic is the name of the game here!
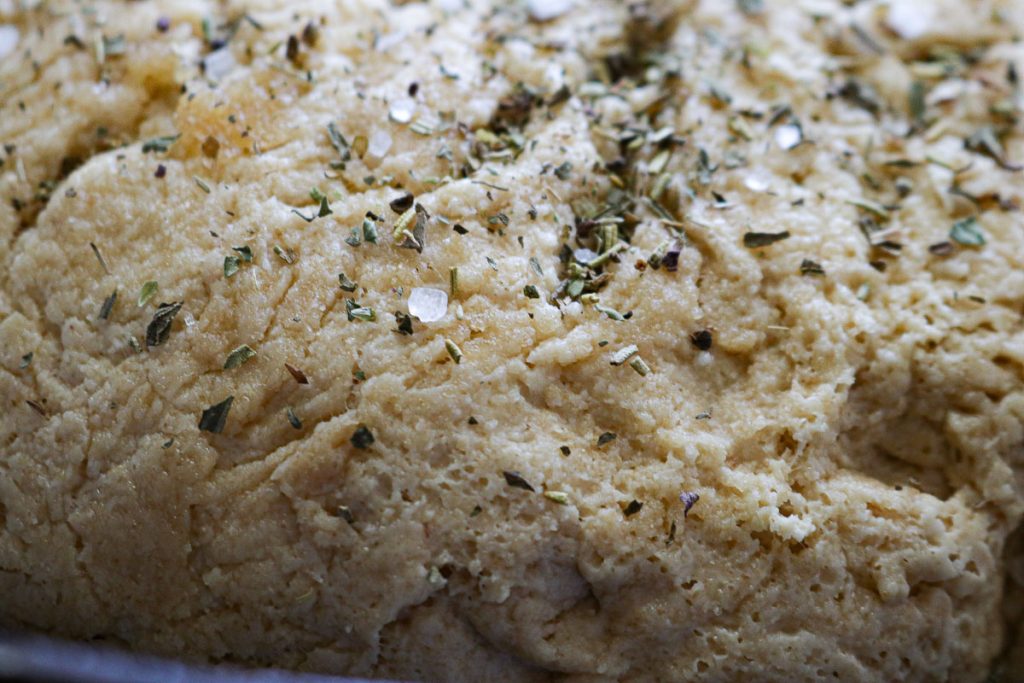
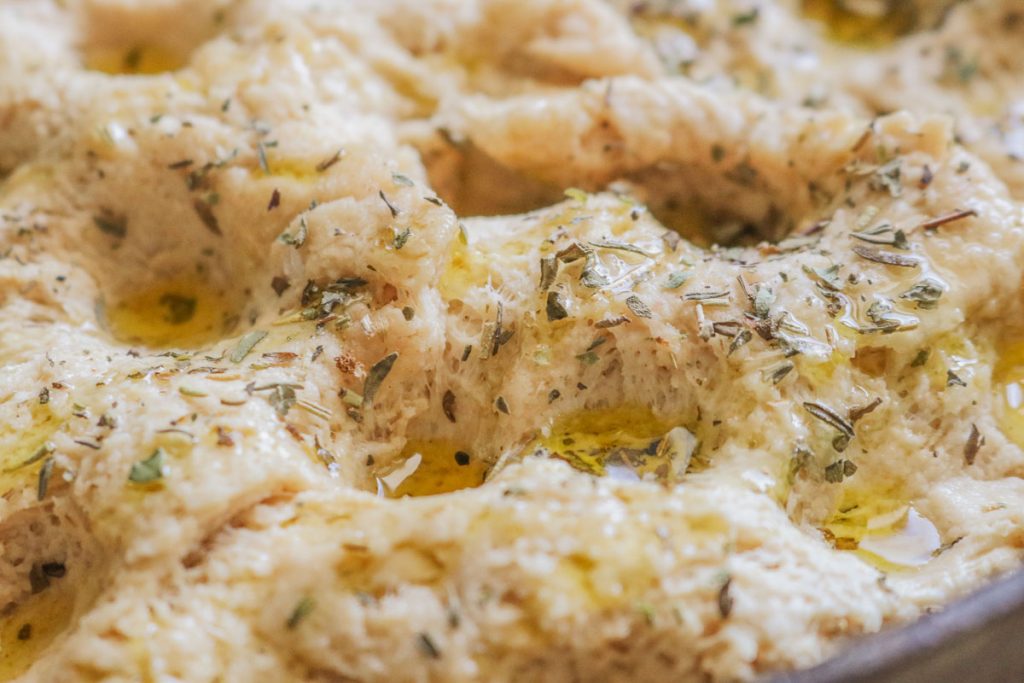
3. 4. Add Herbs and Toppings
Here’s where you can get creative. Whether you’ve got fresh rosemary growing in the garden or dried oregano in your pantry, sprinkle your focaccia with whatever herbs you like. I personally love topping my sourdough focaccia dough with herbs de provence and a little flaky sea salt.
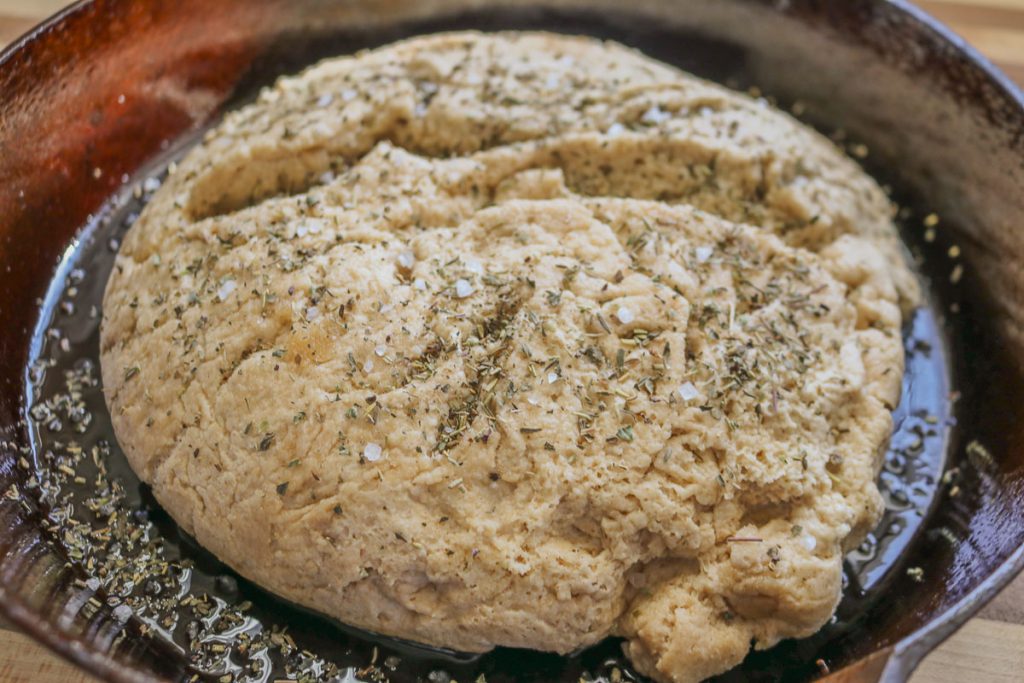
However there are so many different ways you can prepare focaccia! Keep it simple with just some olive oil and flaky salt, or jazz it up with olives, garlic, or sun-dried tomatoes for an extra burst of flavor. Add a few slices of onion or even some caramelized shallots for a sweet, savory balance.
Put a twist on this simple sourdough bread recipe by adding brown sugar and cinnamon across the top of the dough to create a cinnamon roll focaccia loaf. After it’s baked, drizzle a simple glaze on top, and voila—breakfast (or dessert) is served!
If you really want to get creative, use your toppings to create bread art and make the dough your canvas!
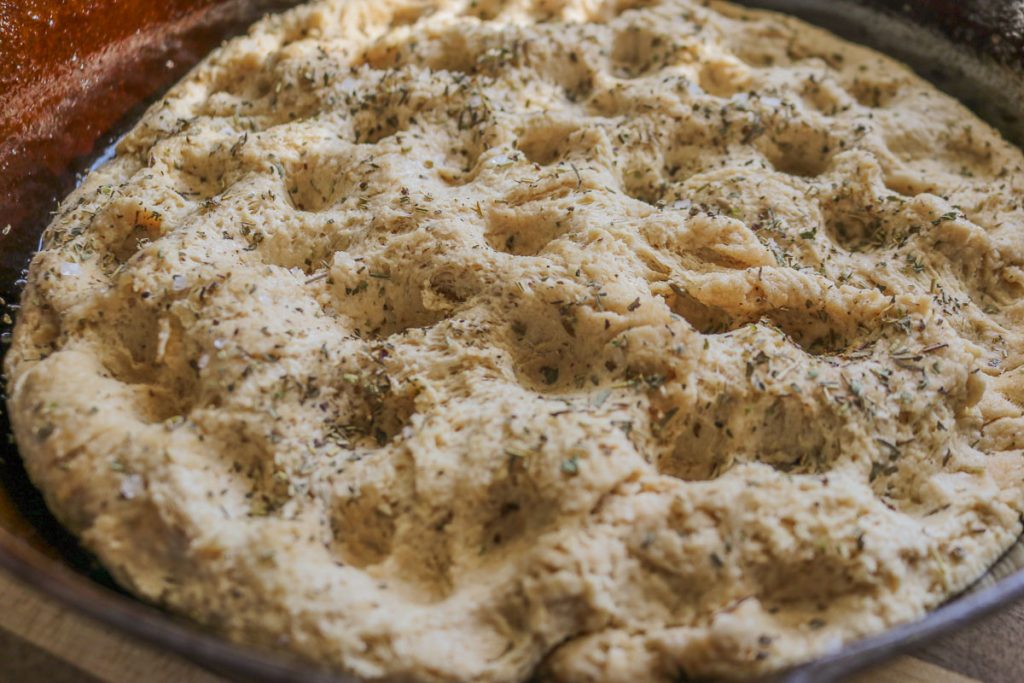
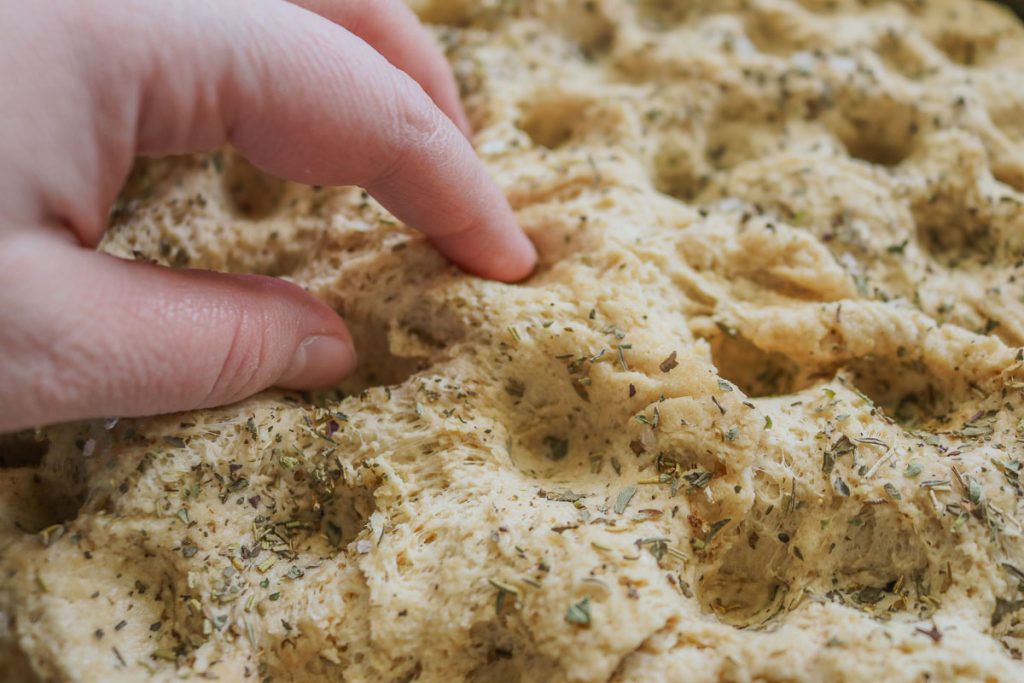
4. Dimple the Dough
One of the signature characteristics of focaccia is its dimples. Wet hands and use your fingertips to gently press into the dough, making little wells all over the surface. These dimples will help trap the olive oil and any toppings you add, making the crust extra flavorful and crispy.
I recommend using a good quality olive oil with a good taste as the flavor will really shine through in this bread.
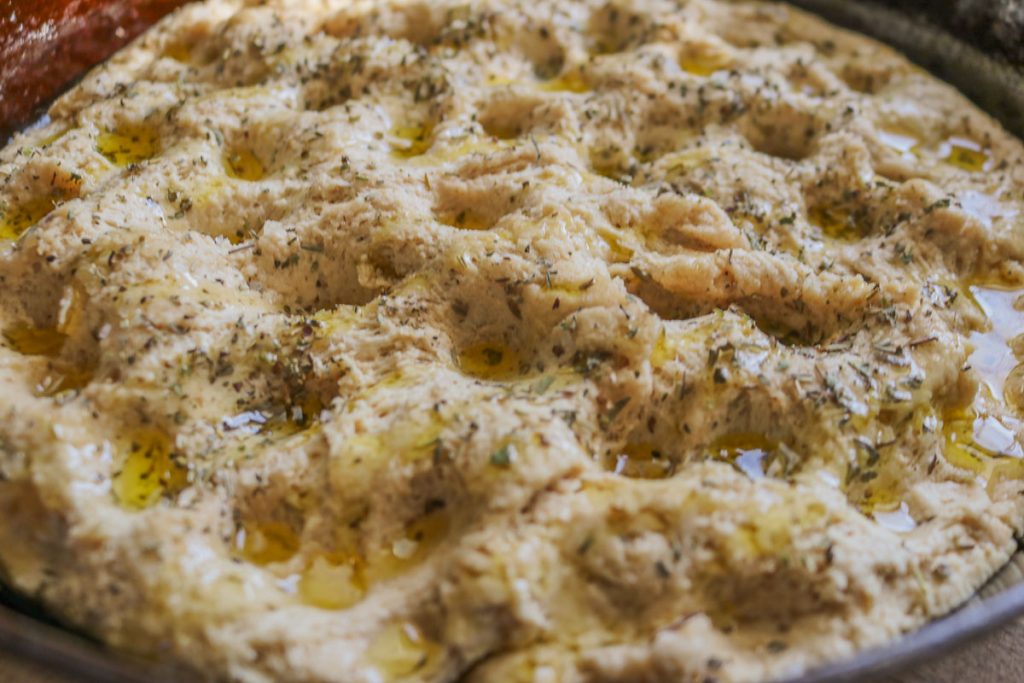
5. Drizzle with Olive Oil
Generously drizzle olive oil over the top of the dough. Don’t be shy with it—the more, the better! The oil will soak into the dough, creating that perfectly crispy, golden crust while keeping the inside soft and airy. I would estimate I use at least 3-4 tablespoons to generously coat the top of the dough.
6. Bake to Perfection
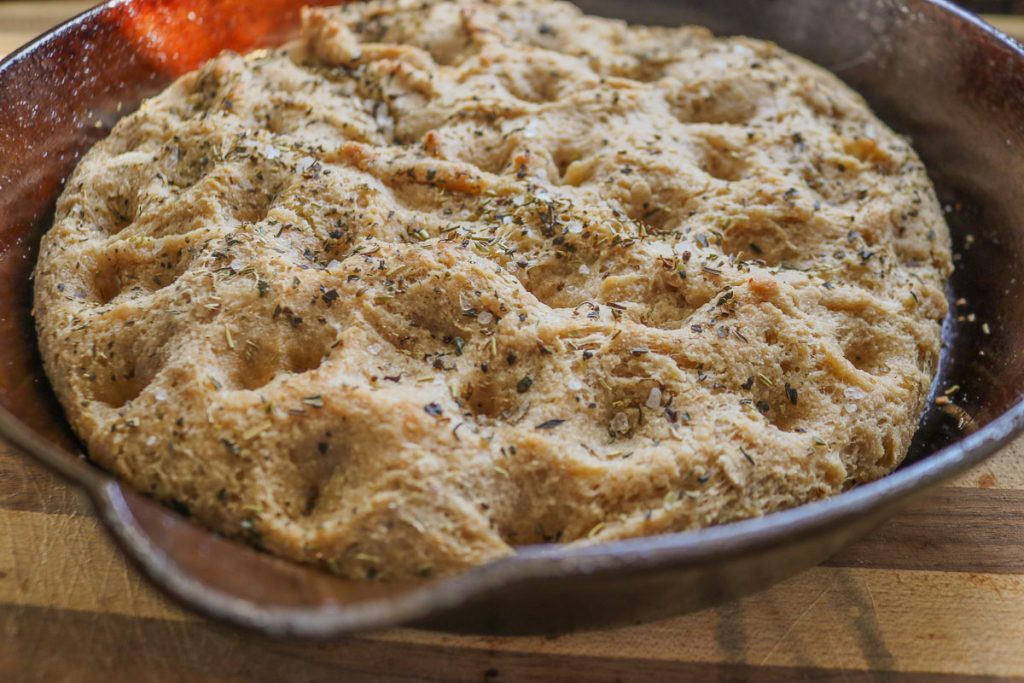
Preheat your oven to 425°F (220°C) and bake your focaccia for 20-25 minutes. You’ll know it’s done when the crust is golden brown, and the internal temperature reaches between 205-210°F (use an instant-read thermometer for accuracy).
The focaccia should be crispy on the outside, with a light, pillowy interior. Carefully use a spatula to lift up the side of the dough to ensure the bottom is golden brown as well.
Let it cool for a few minutes before slicing, then enjoy warm. Preferably with a pat of butter.
In Short: Don’t Toss That Dough!
Next time you’re left wondering what to do with overproofed sourdough, don’t throw it out—make focaccia instead! It’s an easy, delicious way to save your dough while still getting the full, wholesome experience of baking from scratch.
The Joys of Sourdough: More Than Just Focaccia
As a homesteader, I find that sourdough is one of the most rewarding things to bake from scratch. It’s a living thing full of wild yeast—your active sourdough starter, your dough, your bread—all require a little patience and care, but the results are SO, so worth it. And the beauty of sourdough is its versatility; there’s always another way to use it, whether you’re trying to salvage overproofed dough that ballooned in its second rise or just experimenting with using up sourdough discard in new recipes.
Here are a few of my favorite sourdough recipes that I make regularly in my kitchen:
1. Sourdough Discard Pizza Dough
If you’re like me and keep a sourdough starter on hand, you probably end up with a bit of discard every time you feed it. Instead of tossing that sourdough discard, why not use it for pizza crust? Sourdough discard pizza crust has a fantastic chewy texture with a subtle tang. It’s perfect for homemade pizza night and is a great way to get the most out of your starter.
This pizza dough recipe uses both commercial yeast and sourdough starter for a rapidly fast rise with the delicious tang of sourdough flavor!
This is the absolute top sourdough recipe on my blog with thousands of pins on Pinterest!
2. Sourdough Bagels
Homemade bagels are one of those things that feel like a real treat, but don’t take a tons of effort to make. I like to mix up the dough the night before and bake the next day. Using sourdough to make the dough rise may take a little longer, but it adds a depth of flavor you just can’t get with regular bagel dough.
These sourdough bagels are chewy, slightly tangy, and perfect for breakfast, sandwiches, or just a snack with some cream cheese. I love using these bagels for freezer meal prep with some egg and cheese.
If you’ve been following the blog for a while, you know how much I love a good pie.
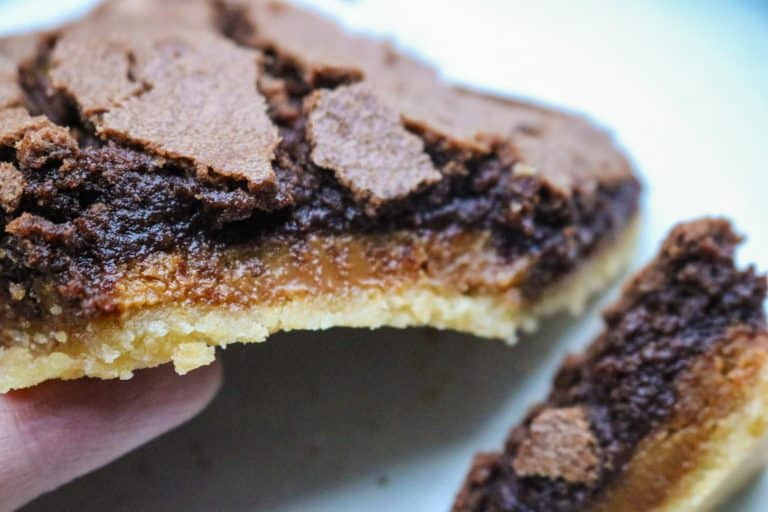
What makes it even better? When I can make the crust from scratch using my sourdough starter. Whether you use active starter or discard, this recipe works with both. Sourdough pie crust has a flakier texture and a richer flavor than regular crusts, making it the perfect base for both savory pies like quiche and sweet pies, such as my highly rated chocolate fudge pie.
4. Sourdough Biscuits
Sourdough biscuits are one of my go-to recipes when I want something quick, comforting and slightly healthier than traditional biscuits. They’re buttery, flaky, and just a little tangy from the sourdough.
Whether served with sausage gravy, jam, or plain ole butter, they’re always a hit. And, like many of my other sourdough recipes, they’re a great way to use up leftover starter.
The Benefits of Sourdough: Why I Love Baking from Scratch
Sourdough is more than just a type of bread—it’s a lifestyle. As someone who enjoys cooking from scratch and living more self-sufficiently, I find that sourdough offers so many benefits, both in terms of health and flavor. Here are a few reasons why I love sourdough baking:
1. Better Digestion
The natural fermentation process in sourdough breaks down gluten and phytic acid, making it easier on your digestive system. This is one of the main reasons sourdough is so much easier to digest compared to regular yeasted bread. I prefer to long ferment my sourdough bread for improved digestability, allowing it perform a long rise in the fridge for its second rise.
2. Tangy, Complex Flavor
Even though sourdough is made with super simple ingredients like warm water, all purpose flour, and salt, it has a flavor profile that is unmatched even among more complicated doughs.
Sourdough bread’s distinct tangy flavor comes from the wild yeast and bacteria that ferment the dough. This gives every loaf or recipe a deeper, richer flavor that you can’t replicate with store-bought bread. For a more sour bread, allow the bread to ferment longer.
3. Less Waste
Baking from scratch using sourdough means you can use up all parts of your starter and dough. Whether you’re using sourdough discard in pancakes or turning overproofed dough into no knead focaccia, nothing goes to waste. That’s a big win for anyone who’s passionate about sustainability and minimizing food waste. You can also “preserve” any discard by freezing your sourdough starter or dehydrating your starter!
4. It’s Fun!
Finally, sourdough baking is a lot of fun. Sure, it’s a process that requires patience, attention, and a little bit of intuition. However, there is something incredibly rewarding about creating something completely from scratch with wild yeast caught from the air. Especially when that thing is as delicious as homemade sourdough bread or focaccia.
Printable Recipe:

Sourdough Focaccia from Overproofed Bread
Equipment
- 1 10 inch cast iron skillet or baking dish
Ingredients
- 1 overproofed dough sandwich bread dough, artisan boule, etc.
Instructions
- Prepare Your Pan
- Generously grease a cast iron skillet or small sheet pan with olive oil (no parchment or foil needed). This helps create a crispy crust.
- Press the Dough
- Gently turn your over-proofed sourdough dough onto the pan, pressing it evenly into a 1-1.5 inch thick layer. Rustic is fine!
- Add Herbs & Toppings
- Sprinkle with your choice of herbs (rosemary, oregano, etc.) and toppings like olives, garlic, or sun-dried tomatoes. For a sweet twist, add brown sugar and cinnamon. Get creative with your toppings!
- Dimple the Dough
- Wet your hands and use your fingertips to press dimples into the dough. This helps trap olive oil and toppings for a crispy, flavorful crust.
- Drizzle with Olive Oil
- Generously drizzle 3-4 tablespoons of olive oil over the top, ensuring the dough is well-coated for a crispy, golden crust.
- Bake to Perfection
- Preheat oven to 425°F (220°C) and bake for 20-25 minutes. It’s ready when golden brown and the internal temperature is 205-210°F. Check the bottom for a golden crust.


Totally forgot about my sourdough and wayyyy overproofed it. This recipe is delicious and super easy, way too easy for how good it tastes!
We used garlic powder, rosemary, thyme, basil and a pinch of coarse salt. Mmmmmm
Yes! This recipe has saved my over-proofed dough so many times lol. Glad you enjoyed it! 🙂
It was unorganized
I’m sorry this post wasn’t helpful for you. If you have any questions, I’m happy to help!
How would you suggest storing after baking if using the next day?
I like to store mine in a large ziplock bag or my beeswax bread bag at room temperature on the counter. Wrapping in aluminum foil or plastic wrap would also work though!
Excellent recipe! I’ve made a lot of focaccia but I think this was the best. Kitchen smelled fantastic too. Thanks for a great recipe for overproofed sourdough!
So glad it worked well for you! Homemade bread baking in the oven is the absolute best smell.
This recipe is so good and perfect for my overproofed dough. I don’t have a large cast iron pan so I used a sheet pan. I added Italian season and coarse salt. My family loved it and it’s great dipped in olive and balsamic! Hope I have many more over-proofed doughs.
Yum!! We love dipping our sourdough into olive oil and balsamic too. So glad you have enjoyed this recipe! 🙂
do you still use olive oil if you are making a sweet one with honey or brown sugar and cinnamon?
You could either use a light tasting olive oil, or butter. I personally would use butter to top my sweet focaccia because butter and cinnamon sugar is always a win in my book!
Thanks amazing!
So glad you enjoyed it!
Delicious!
So glad you liked it!
How big of a sourdough ball can a 10 inch skillet take?
That’s a good question! I have used my no-knead sourdough loaf in a 10 inch skillet with good results, so that would be about: 1231 grams or 2.7lbs of dough.
Recipe: Easy Beginner’s No Knead Sourdough Bread Recipe
Good for a mistakenly over proof dough . I only would say I’m not sure how to do the sun-dried tomatoes because it burnt my sun-dried tomatoes when I tried them as a topping.
That’s a bummer! Did you use sun-dried tomatoes packed in oil? I prefer using those over dehydrated because the extra oil prevents them from drying out and burning. Also, be sure you are lightly pressing them into the proofed dough before baking instead of just scattering them on top. Those would be my two suggestions for avoiding this, hope it helps! 🙂
Easy directions and worked perfectly! I overproofed my dough and it was still too good to trash… enter my first ever focaccia bread! With garlic and Parmesan!
Thank you for an easy recipie!
Oooh garlic and parmesan sounds delish!! So glad you enjoyed it!
You mention an “Unloaf”, but provided no link. I looked at your recipes and you have nothing labelled “Unloaf”. Help?
Sure thing! Here you go: https://gardenofmirth.com/easy-beginners-no-knead-sourdough-bread-recipe/