Easy Beginner’s No Knead Sourdough Bread Recipe (Unloaf Method)
Last Updated on January 1, 2026 by Stephanie Gilpin
The beauty of this no-knead sourdough bread recipe is that it’s as simple as mixing up the ingredients and letting the sourdough starter do all the work for you. No stretching. No folding.

If you’ve ever wanted to bake sourdough bread without the fuss of kneading or spending hours stretching and folding, this no-knead method is an absolute game changer.
I’ve been baking sourdough bread for years now, and I can tell you—there’s no greater joy than watching dough rise on the counter, knowing you’ll have fresh bread without all the effort.
As it turns out, the Little Red Hen was working way too hard for her loaf of bread—it really can be as simple as mix, rest, shape, and bake!
This method of baking sourdough is often called the “unloaf” method because it’s so contrary to the typical sourdough recipes you often see, with their specific temperature guidelines, baking schedules, hydration levels, and endless stretches and folds.
This recipe is perfect for anyone—sourdough beginners, a parent juggling a thousand tasks, someone who works long hours, someone with arthritis who can’t handle the stretching and folding, or just someone who loves the art of baking from scratch.
What is the “Unloaf” Method?
The “unloaf” method is the simplest sourdough method I have found. It’s called an “unloaf” because it’s made from:
- unfed flat starter (active. starter works too, but may rise quicker)
- un-worked dough- mix and forget
- unheated oven- this bread dough begins baking in a cold oven, no preheating needed.

What You Need to Make No Knead “Unloaf” Sourdough:
Helpful Kitchen Tools:
- Large Bowl- to mix up the ingredients and let the bread rise
- Kitchen Scale- to measure out ingredients. No need for anything fancy, a cheap kitchen scale will work!
- Dutch Oven, Oven Safe Skillet or Bread Baking Dish with a lid
- Wooden Spoon or Danish Dough Whisk (my absolute favorite kitchen tool)- to mix the ingredients into a shaggy dough

Ingredients for No-Knead Sourdough Bread
To make this simple, hands-off sourdough bread, you don’t need anything too fancy. It’s all about quality ingredients that work together to create a beautiful loaf.
1. 650 Grams of All-Purpose Flour
For this recipe, I love using good-quality, unbleached all-purpose flour. It’s a great base for no-knead sourdough because it provides enough structure without being too heavy.
That said, I often swap out a portion for whole wheat flour or freshly milled flour if I’m looking for a heartier, more rustic loaf.
I’ve made this unloaf recipe with all kinds of different flour combinations—including freshly milled hard white wheat, Kamut (also known as Khorasan), or half all-purpose and half whole wheat—all with good results.
The beauty of this sourdough recipe is its flexibility—you can experiment with whatever you have on hand.
2. 400 Grams of Warm Water
I use warm (but not hot) water to help activate the wild yeast and encourage good fermentation. Think: nice, warm bathwater temperature.

3. 16 Grams of Salt
Salt is essential for flavor, but it’s also a natural preservative that helps keep the bread from going bad too quickly. I use mineral salt or sea salt—both work perfectly. I often reach for Redmond Real Salt in my sourdough recipes with great success, but really, any salt will do.

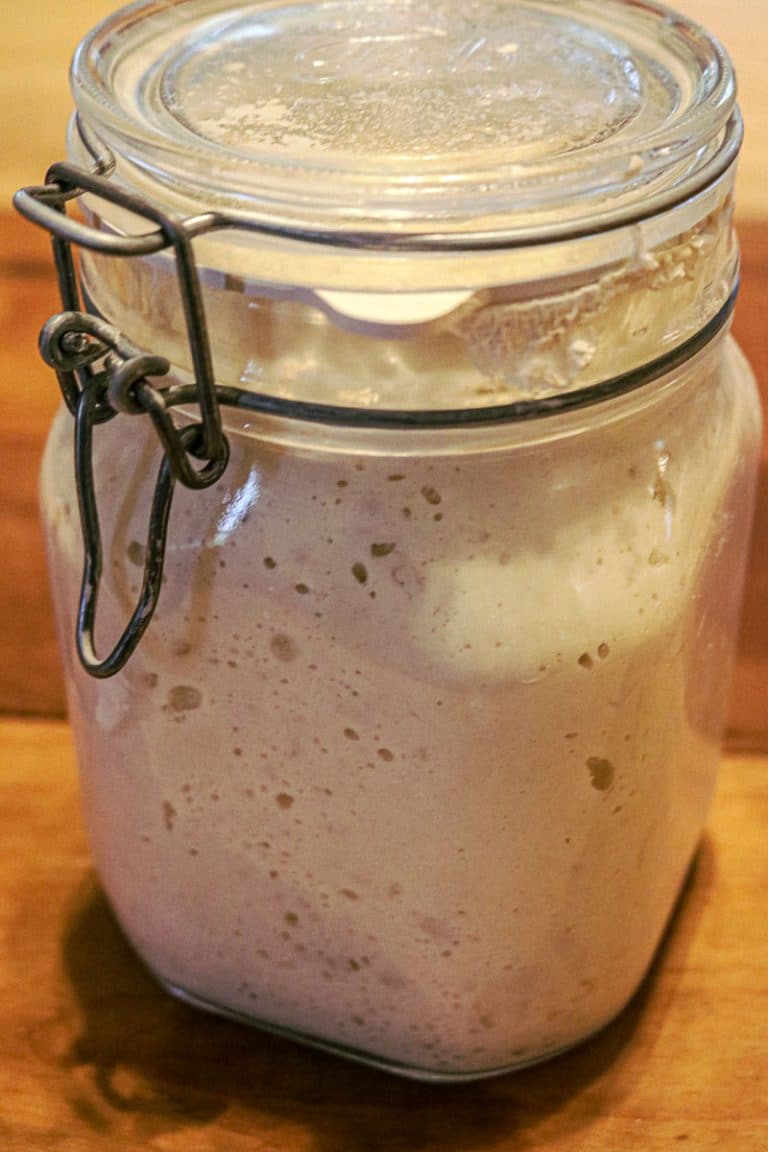
4. 165 Grams of Sourdough Starter
This is where the magic happens. This recipe actually calls for unfed or “flat” starter, but you can absolutely use active sourdough starter too. It works wonderfully with a starter that’s been sitting for a bit (but has been fed recently).

A “flat” sourdough starter refers to one that has been recently fed, risen to its peak, and fallen again. As long as it’s strong and was fed sometime in the last 48 hours, it’ll work. No need to be precise.
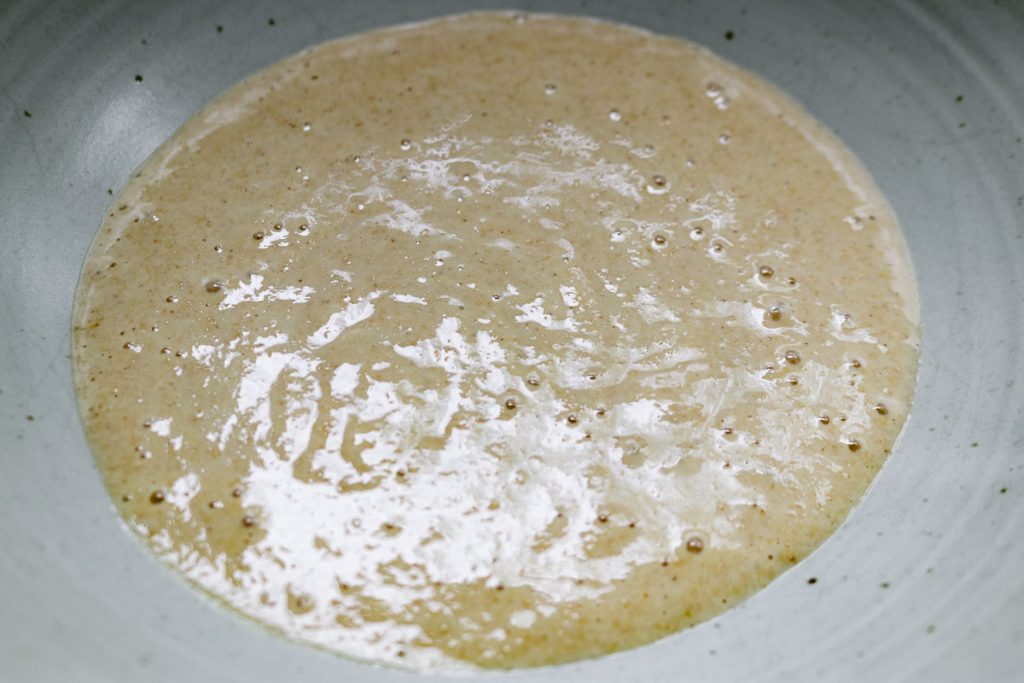
I’ve even used cold starter straight from the fridge with great success! This is truly the least technical sourdough recipe you’ll find. If your starter is strong, you can’t go wrong.
Detailed Step-by-Step Directions for Making No-Knead Sourdough Bread
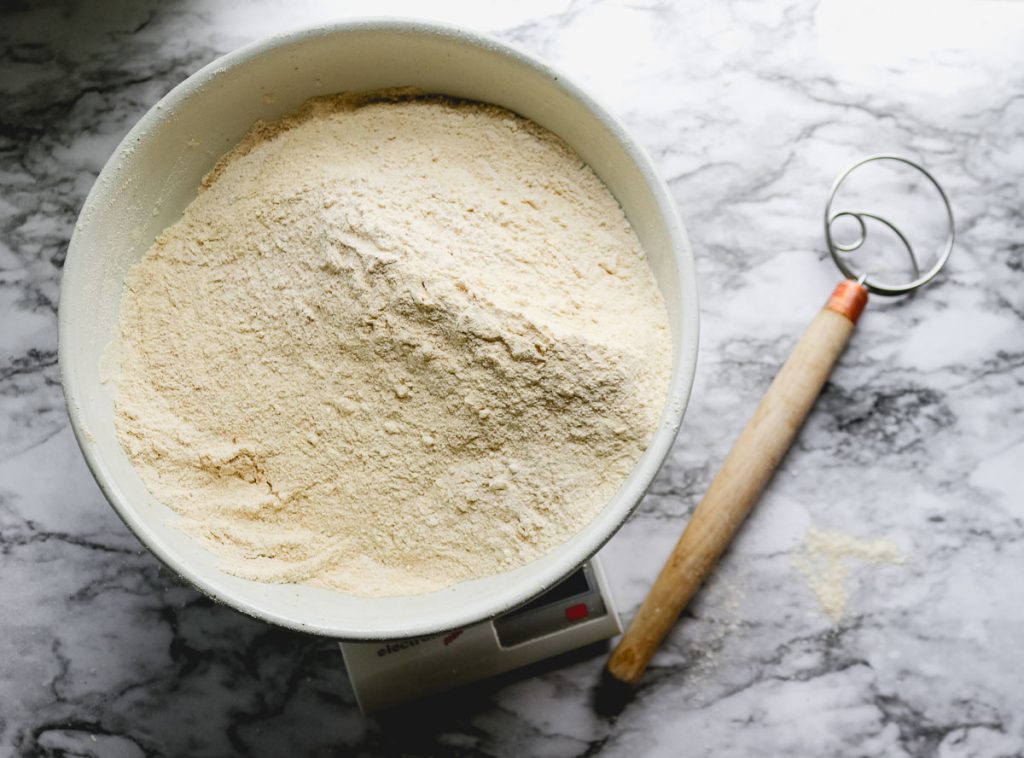
Step 1: Mix the Dough
The first step is simple: combine your weighed flour, warm water, salt, and sourdough starter in a large mixing bowl. Use a danish dough whisk, a spoon or wet hands to mix it all together into a shaggy dough.

This dough will be a bit sticky—that’s completely normal! You don’t need to overmix it or worry about getting it smooth. Just get everything combined, and it will come together on its own during the bulk fermentation process.
Once it’s mixed, rub a little olive oil over the top to keep it from drying out as it ferments. Then, cover the bowl with plastic wrap or a damp kitchen towel and set it aside on the counter to ferment overnight.

I typically let it sit for about 10-12 hours, but depending on your kitchen temperature, it could take a little longer or shorter. The dough should be close to double in size, and you’ll see bubbles on the surface—this means your starter is doing its work.

Step 2: Bulk Ferment Overnight
This is one of the reasons I love sourdough—it’s a slow process, and the bulk fermentation step really lets the dough develop flavor. During the 12-hour overnight fermentation, the wild yeast and bacteria in the starter work their magic, giving the dough that signature tangy flavor and chewy texture.
There’s no need to rush this process. The slower, the better. I usually mix the dough in the evening and let it sit overnight, and by morning, it’s ready to go.
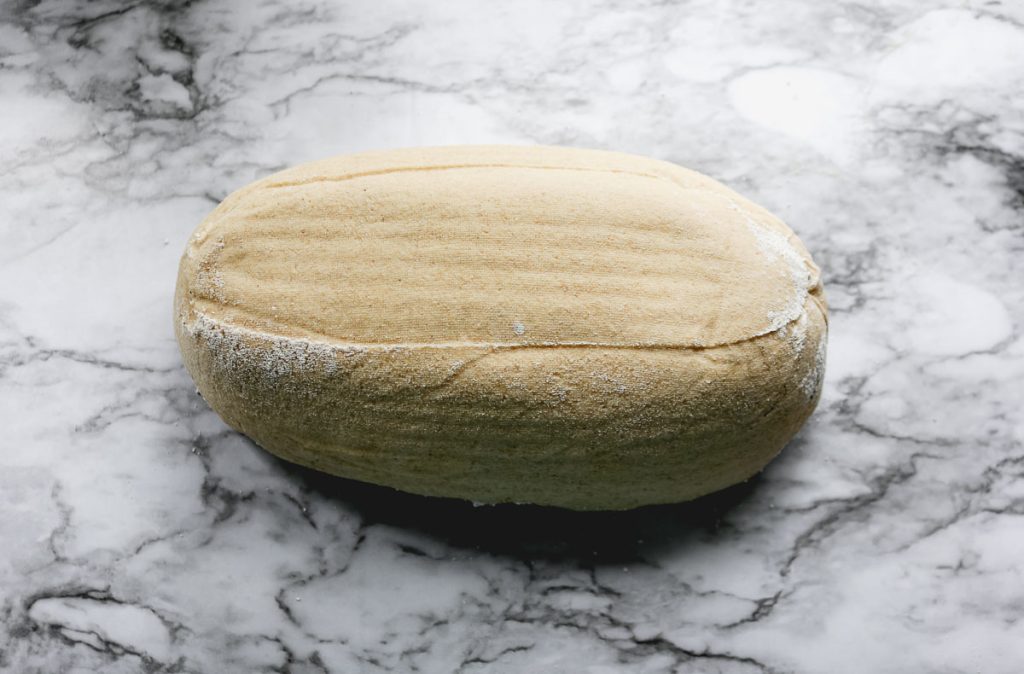
Step 3: Shape the Dough
After the dough has fermented overnight, it’s time to shape it into a loaf. Turn the dough out onto a lightly floured work surface and gently fold the dough over itself a few times and use your hands to pull the dough towards you, shaping the loaf.
This is where the magic of sourdough comes together—the shaping process helps build tension in the dough without the need for any kneading.

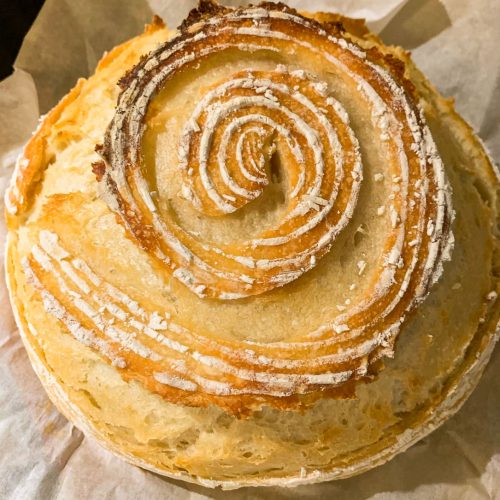
Shape the dough into a round or oval loaf, depending on your preference.

Now, let the dough rest for about an hour in a proofing basket or tea towel lined bowl, uncovered.
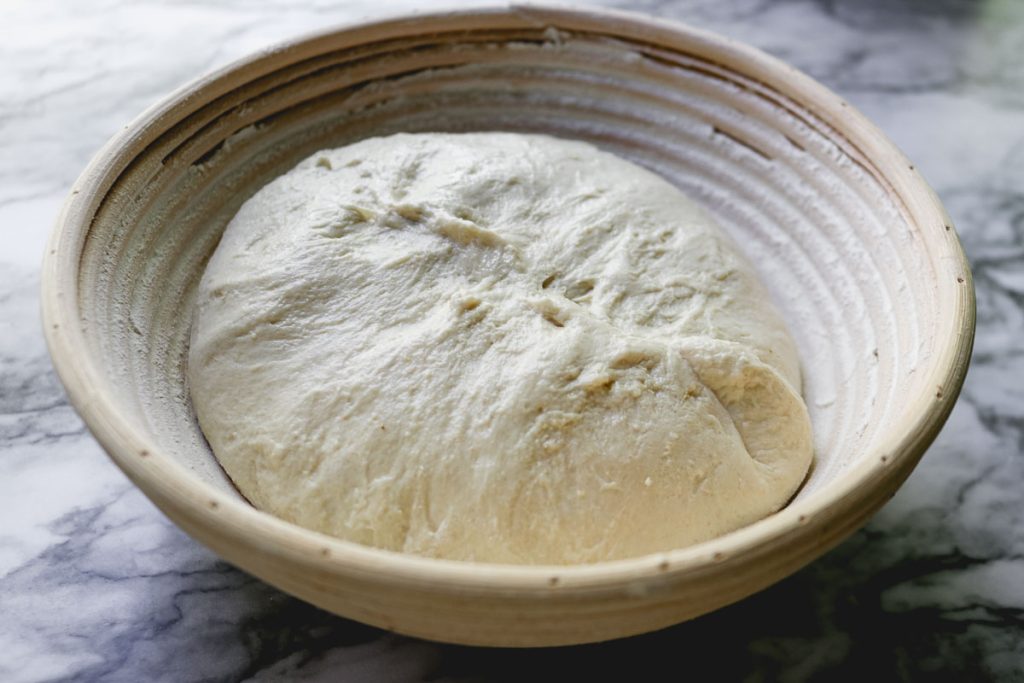
This step helps the dough relax and rise a little more. You’ll notice the dough puffing up slightly during this time.
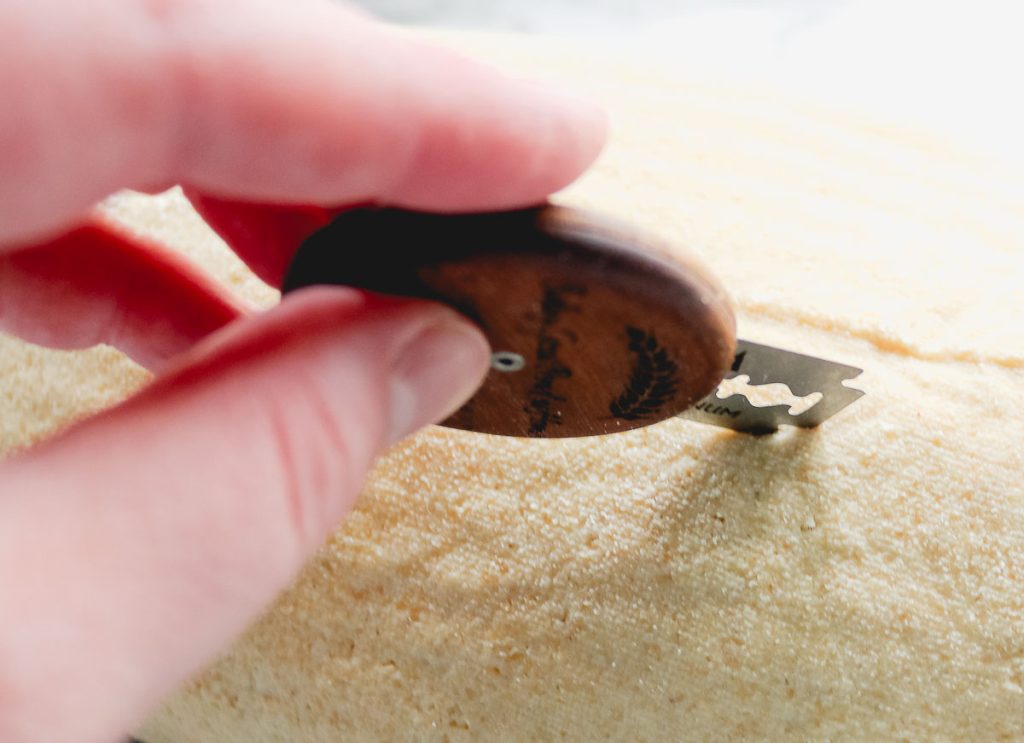
Step 4: Score the Dough
Once your dough has completed its one hour bench rest, it’s time to score it. Scoring allows the bread to expand evenly as it bakes, and it also gives the loaf a beautiful look.
Use a sharp knife, a lame, or a razor blade to make a few shallow cuts on top of the dough. The scoring doesn’t have to be fancy or perfect—it’s meant to be rustic and handmade, which is exactly what I love about artisan sourdough bread.
Step 5: Bake the Bread in a Cold Oven
Here’s the biggest shock for many sourdough bakers—we are baking this loaf of bread in a COLD oven! Put the dough in a cold Dutch oven or skillet, cover with a lid, and then set the oven to 450°F. Do NOT preheat the oven.
The cold start helps the dough rise slowly and evenly, creating a better crumb structure and a perfect crust.
Bake the bread with the lid on for one hour.
Step 6: Check the Internal Temperature
Once the bread has baked for an hour, use a digital thermometer to check the internal temperature. The ideal temperature for this loaf is around 205°F.
If you have an instant-read thermometer, you can check if your bread is done by looking for a golden-brown top.
I highly recommend an instant read thermometer for bread baking if you don’t already have one- you will never be disappointed with an underbaked loaf ever again.
If the loaf is not fully baked, lower the oven temperature to 425°F and remove the lid to continue baking for a couple more minutes until the bread is fully cooked.
I have never had to extend the time in my oven personally, but watch it closely if you do.
Step 7: Let the Bread Cool
Once the bread is baked, carefully remove it from the oven and place it on a cooling rack.
Let it cool completely before cutting into it. This is an important step! If you cut into the bread too soon, the crumb will be gummy because the bread is still finishing up its baking process. So, trust me—let it cool, and you’ll get a lighter, more airy crumb!
Optional: I love slathering the crust with butter while it’s still hot. It softens the crust and adds a wonderful richness to the loaf.
Printable Recipe Card:
No Knead Unloaf Sourdough Bread
Equipment
- 1 bowl
- kitchen scale
- spoon or danish whisk
Ingredients
650 grams all-purpose flour
- Optional: swap some for whole wheat, freshly milled hard white wheat, or Kamut
400 grams warm water
16 grams salt
165 grams sourdough starter
- Flat or active starter; recently fed within 48 hours—even cold from the fridge
Instructions
Mix the Dough
- In a large bowl, weigh out all ingredients using a kitchen scale.
- Mix with a wooden spoon or Danish dough whisk until a shaggy dough forms.
Oil & Rest Overnight
- Lightly rub or spray olive oil over the top of the dough to prevent drying.
- Cover the bowl and let it rest on the counter overnight (10–12 hours).
- Note: Rise time may vary slightly with room temperature—70°F is ideal.
Shape the Loaf
- The next morning, turn the dough out onto a surface and shape into a boule or batard.
- Place into a proofing basket or towel-lined bowl and let it bench rest for 1 hour.
Prepare for Baking
- Score the loaf and place it into a room-temperature Dutch oven or oven-safe lidded baking dish lined with parchment paper.
Bake from Cold Oven
- Place the dish into a cold oven.
- Cover with the lid, set the oven to 450°F, and set a timer for 1 hour.
- This gradual preheat allows the loaf to rise beautifully as the oven warms.
Check for Doneness
- After 1 hour, check the loaf’s internal temperature. It should be around 205°F.
- If not yet done, remove the lid, reduce the oven temperature to 425°F, and continue baking uncovered—checking every few minutes until the bread reaches 205°F.
Optional Finish
- For a soft, buttery crust, slather the top of the loaf with butter while warm.
- For a crustier finish, skip the butter.
How to Store Leftover Sourdough Bread:
Store leftover sourdough bread in an air tight container or ziplock bag for 3-4 days on the counter. If your bread becomes stale- don’t throw it out! Cube it up and make your own delicious sourdough croutons instead!
How to Freeze Sourdough Bread
If you’re baking in bulk or just want to save some bread for later, freezing sourdough is a great option. Here’s how I freeze my loaves:
1. Slice and Freeze:
If you prefer individual slices, slice the bread and lay the slices on a baking sheet. Flash freeze for about an hour, then transfer the slices to a freezer-safe bag. This way, you can pull out a slice whenever you need one. Frozen sourdough toast is a quick and satisfying breakfast- or if you’re feeling fancy, make it french toast!
2. Freeze the Whole Loaf:
You can also freeze the whole loaf. Wrap it tightly in plastic wrap and aluminum foil, and then place it in a freezer-safe bag or container. When you’re ready to eat it, simply thaw the loaf at room temperature. If you like, you can refresh the crust in a hot oven for a few minutes to bring back that freshly baked feel.
The Benefits of Sourdough Bread
One of the reasons I love sourdough are the gut healthy benefits it brings to the table, literally and figuratively:
- Better Digestion: The long fermentation process breaks down gluten and phytic acid, which makes sourdough easier to digest. It’s a real win for anyone with a mild sensitivity to gluten or anyone looking to improve their gut health.
- Probiotics: While the baking process doesn’t keep the probiotics from the starter alive, there are still some probiotic benefits like the lactic acid bacteria left behind from the slow fermentation. It’s a great way to incorporate healthy bacteria into your gut microbiome.
- Richer Flavor: Sourdough’s natural fermentation gives it that signature tangy flavor that’s hard to replicate with any other bread. Plus, it makes your home smell heavenly while it bakes!
- Simplicity and Wholesomeness: By making sourdough from scratch, you’re working with just a few simple, nourishing ingredients—flour, water, salt, and starter. No preservatives, no additives, or dough conditioners, just the goodness of homemade bread!
Other Sourdough Recipes to Try
Once you get the hang of making sourdough bread, there are so many more delicious recipes to try. Here are a few of my favorites:
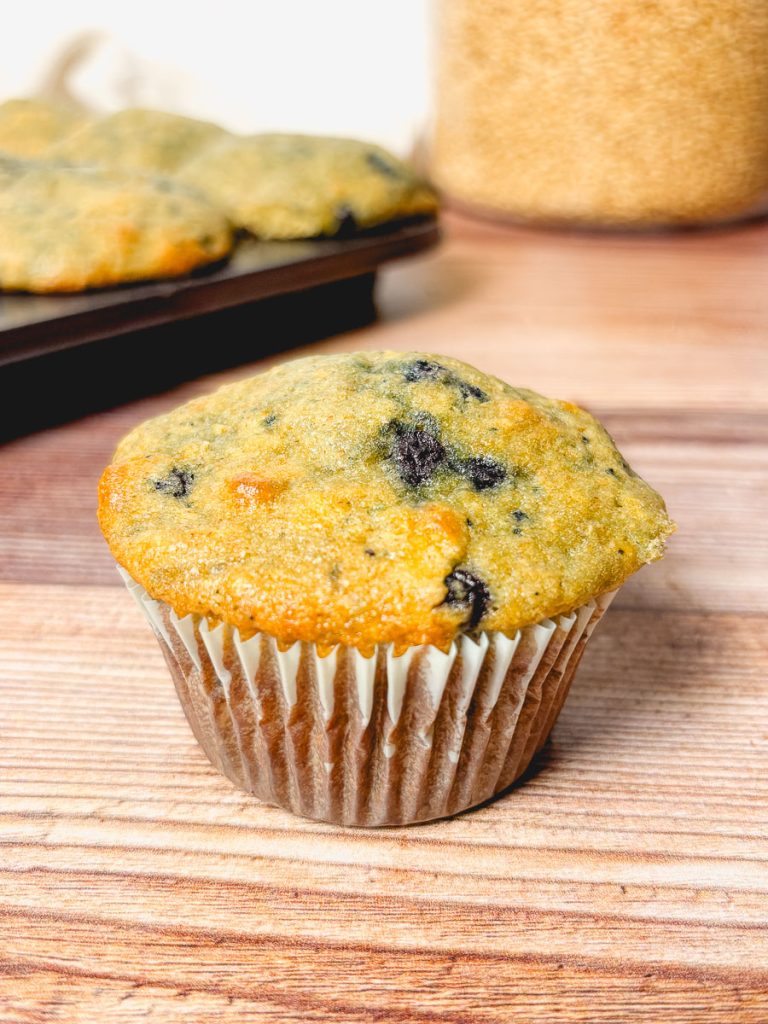
- Sourdough Biscuits – Flaky, buttery, and just the right amount of tangy. Perfect for breakfast or as a side to soups and stews.
- Sourdough Pizza Dough – My go-to FAST pizza crust, with a chewy, slightly tangy base that makes every homemade pizza feel special. This sourdough pizza crust is ready in under 1 hour.
- Sourdough Bagels – These bagels have that chewy, hearty texture that’s perfect for spreading cream cheese or making easy breakfast sandwiches. Bonus- they freeze beautifully!
- Easy Focaccia Bread – When your sourdough dough gets a little over-proofed, turn it into focaccia! It’s easy, delicious, and a great way to use up dough. Check out my step by step guide to turning over-proofed sourdough into focaccia here.
You don’t need hours of free time or a professional kitchen to make delicious, gut-healthy bread. This no-knead sourdough bread recipe is the perfect solution for anyone with a busy schedule who wants to enjoy the benefits of homemade bread.


Wow – great recipe. I substituted 300g semolina flour in the recipe and it came out great. Easy to make and came out beautiful. Baked for 50 minutes covered and 5 uncovered. Thank you for the recipe. Love it.
So glad it worked well for you! I will have to try adding some semolina flour to mine, that sounds great!
Easiest sourdough recipe I’ve tried!
So glad it worked for you!
This was a life saver recipe!
I’m so glad you enjoyed it!