How to Maintain a Healthy Sourdough Starter (Without Overthinking It)
Last Updated on January 1, 2026 by Stephanie Gilpin
Maintaining a healthy sourdough starter doesn’t require strict schedules, special tools, or constant attention. In fact, one of the most important things to understand about sourdough is that it’s far more resilient than it’s often given credit for.
This guide will walk you through how to keep your sourdough starter healthy using a simple, flexible approach that fits into everyday life. There’s no single “perfect” method — the best routine is the one that works for you and keeps you baking consistently.
Quick Start Guide
What a Healthy Sourdough Starter Looks Like
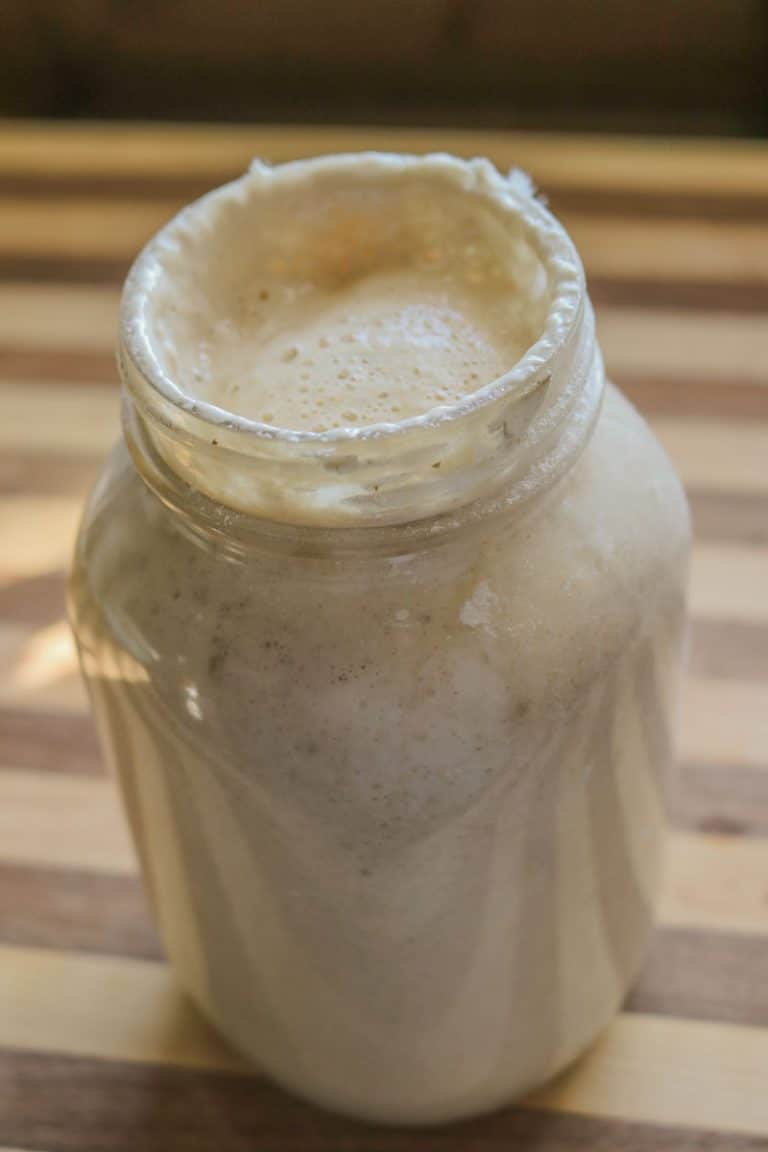
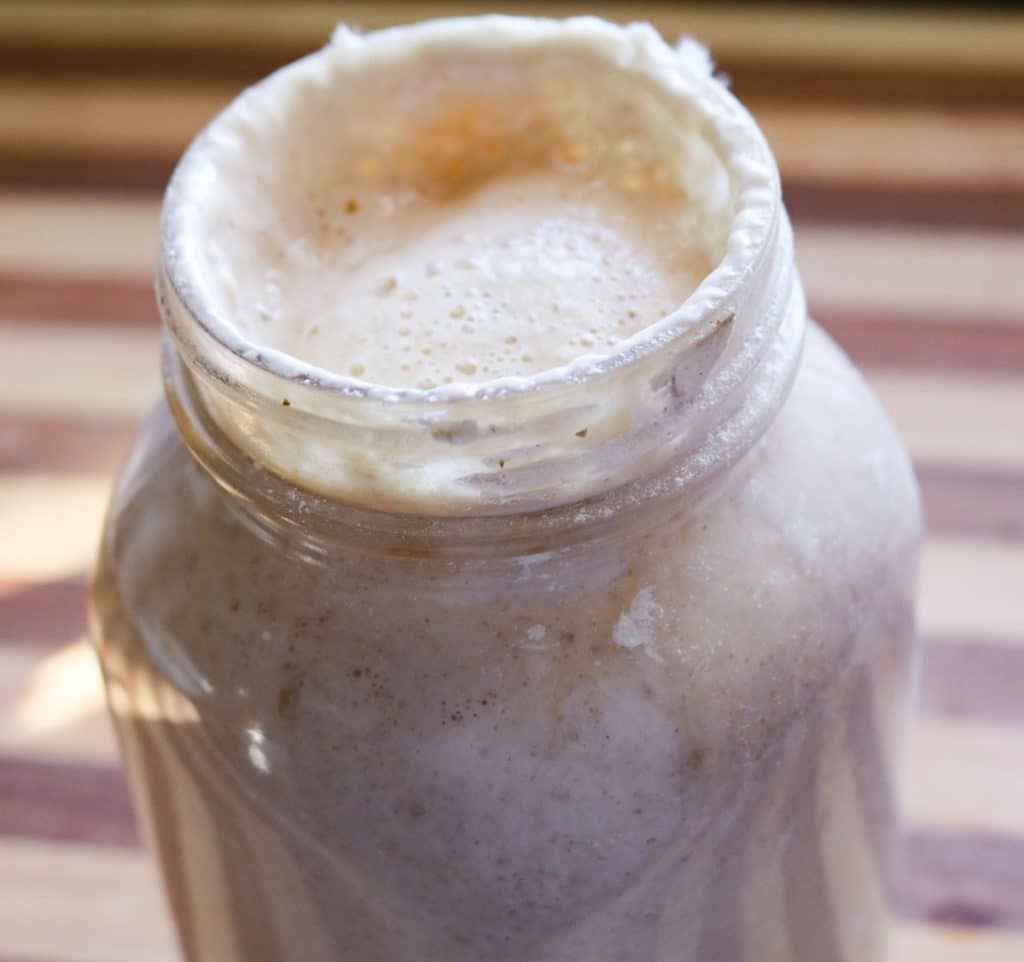
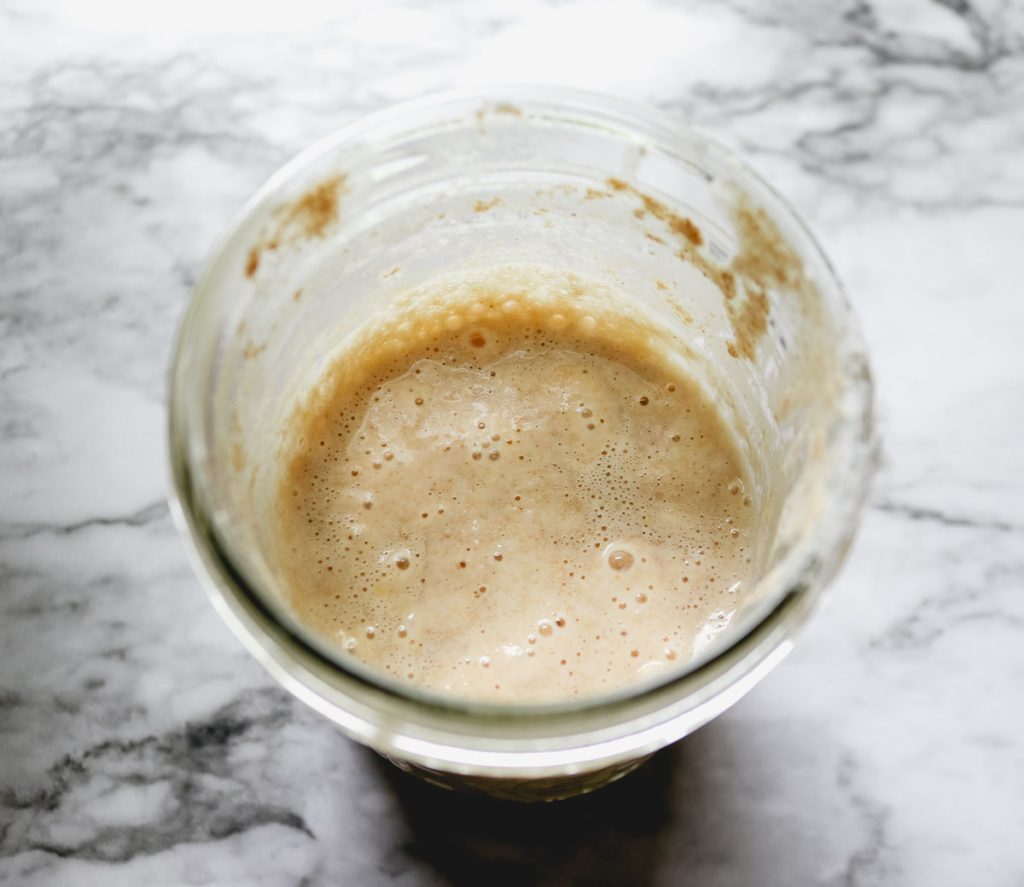
A healthy starter doesn’t need to behave perfectly to be usable. Instead of focusing on exact measurements or dramatic rise, look for consistent signs of life.
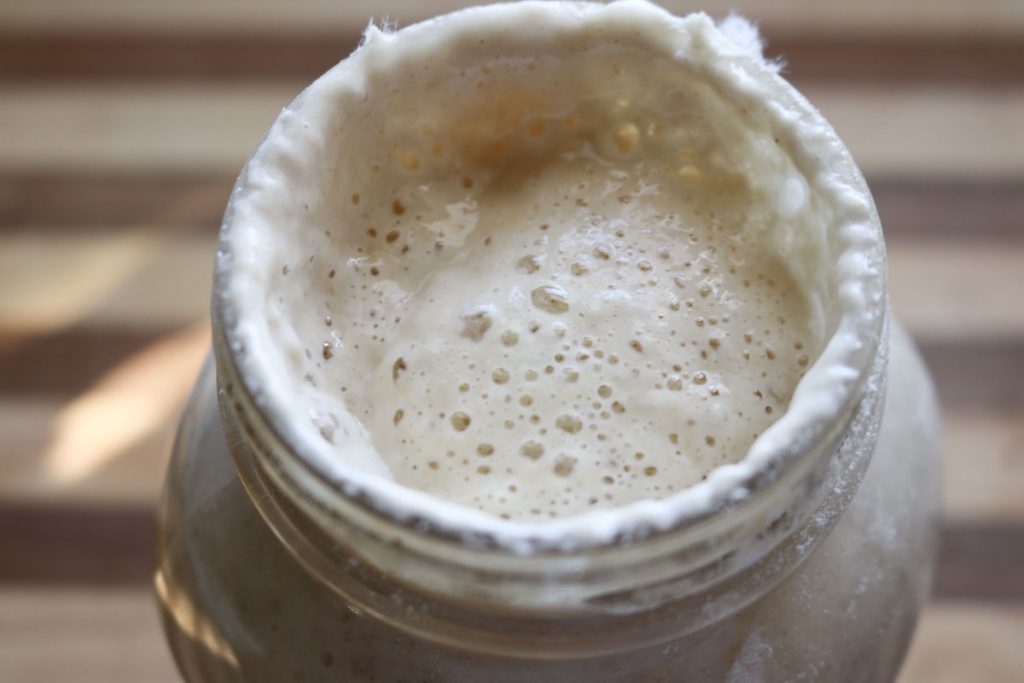
A healthy starter will usually:
- Show bubbles after feeding
- Rise at least somewhat before falling back
- Smell pleasant (mildly tangy, yeasty, or slightly sweet)
Starters naturally change depending on temperature, flour, and feeding schedule. As long as it’s active and predictable, it’s doing its job.
How to Feed Your Sourdough Starter (No Measuring Required)
Feeding a sourdough starter doesn’t have to be exact to be effective. As long as you keep a rough 1:1 ratio of flour to water, your starter will stay happy and healthy. This flexible approach is perfect if you’re new to sourdough and want to avoid unnecessary stress.
Think of feeding your starter as refreshing it, not following a strict formula.
Step 1: Discard Some Starter
Before feeding, remove about half of the starter from your jar and discard it (or save it for discard recipes).
This keeps your starter from growing too large and ensures the fresh flour has plenty of food to work with.
Step 2: Feed With Equal Parts Flour and Water
To what remains in the jar, add:
- About the same amount of flour as starter
- Enough water to match the flour
If you prefer to measure, use about ½ cup sourdough starter, then add about ½ cup all-purpose flour and about ½ cup water. The exact amounts don’t need to be perfect — adjust slightly to reach a thick but stirrable consistency.
If you don’t want to measure, simply aim for a thick, scoopable texture, similar to pancake batter or thick yogurt. I personally just eyeball the amounts and adjust by feel.
If it looks:
- Too thick → add a splash of water
- Too runny → sprinkle in a little more flour
That’s it. Your starter is now fed.
Step 3: Cover and Let It Rise
How you cover your starter depends on where you store it:
- On the counter: Cover loosely with a lid, paper towel or cloth
- In the fridge: Use a tight-fitting lid
At room temperature (ideally around 70–75°F), your starter should begin to bubble and rise within a few hours and may double in size anywhere from 2–12 hours, depending on your kitchen.
How Often Do You Need to Feed a Sourdough Starter?
This depends entirely on how you store your starter and how often you bake.
If you keep your starter at room temperature:
- Feed about once per day
- Feed more often in very warm kitchens
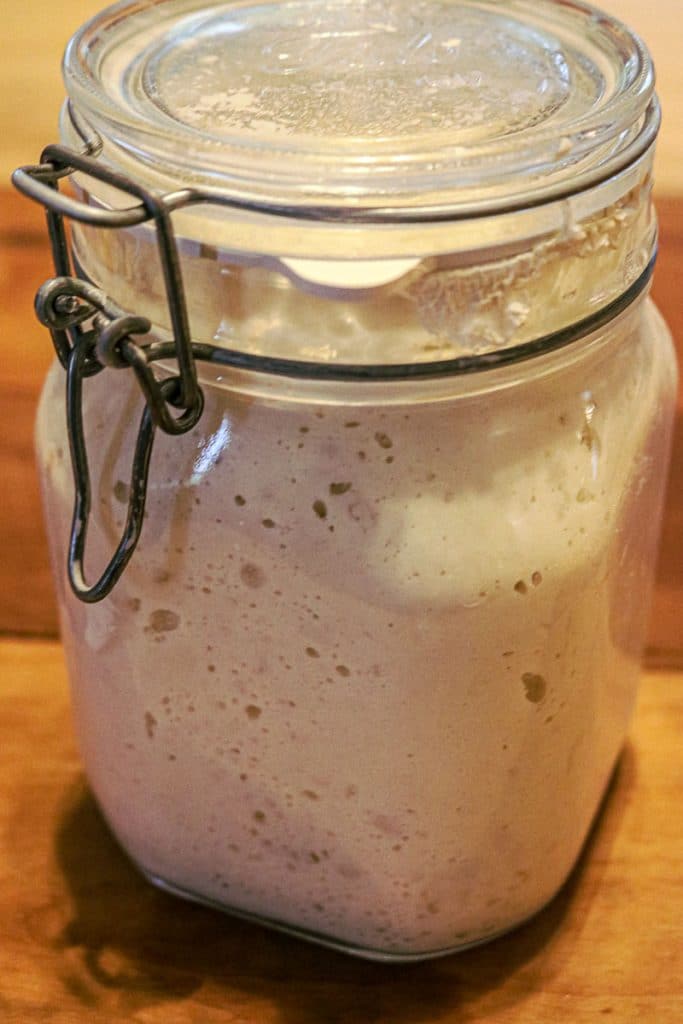
If you keep your starter in the refrigerator:
- Feed when you plan to bake
- No daily maintenance required
I keep my starter in the fridge most of the time and simply pull it out and feed it when I’m ready to bake. This keeps maintenance low and makes sourdough much easier to manage long-term.
What to Do If Your Starter Has a Hooch Layer
Sometimes you may notice a dark liquid forming on top of your sourdough starter. This liquid is called hooch, and it’s completely normal.
Hooch forms when a starter has gone a while without being fed and is simply a sign that it’s hungry — not that anything is wrong.
If you see hooch, you have two easy options:
- Stir it back in, then feed your starter as usual. This will give a slightly stronger, more sour flavor.
- Pour it off, then feed your starter if you prefer a milder taste.
Either option is fine. The most important step is giving your starter fresh flour and water.
A hooch layer does not mean your starter is bad or ruined. In most cases, one or two good feedings is all it takes to bring it right back to life.
Do You Need to Discard Every Time?
Discarding isn’t about waste — it’s about balance.
As your starter grows, removing some before feeding:
- Keeps the starter from becoming too large
- Helps maintain a balanced fermentation
Discard doesn’t need to be thrown away. It can be used in:
If you’re baking regularly, discard becomes one of the most useful parts of maintaining a starter.
Where to Store Your Starter
There’s no rule that says your starter has to live on the counter. In fact, I don’t recommend it for most people.
Refrigerator storage works well if:
- You bake once or twice a week (or less)
- You want low-maintenance sourdough
- You don’t want to worry about daily feedings
Cold storage slows fermentation and makes it much harder for a starter to go bad.
For extra peace of mind, it’s also helpful to keep a backup starter on hand by freezing sourdough starter or rehydrating dehydrated sourdough starter, so you always have a way to revive it if needed.
Signs Your Starter Needs Attention
A starter may need a few good feedings if it:
- Has been in the fridge for a long time
- Smells very sharp or acidic (or even like wet gym socks)
- Takes longer than usual to show activity
- Has a dark layer of liquid called “hooch” on top
In most cases, a sluggish starter just needs:
- Fresh flour
- Warmth
- A little time
It’s rare for a sourdough starter to be truly ruined.
How to Use the Float Test (And When It Helps)
The float test is a simple way to check whether your sourdough starter is ready to bake bread. While it isn’t the only indicator of starter strength, it can be a helpful quick check—especially for beginners.
To do the float test, gently place a small dollop of recently fed starter into a bowl of lukewarm water.
- If the starter floats, it’s well-aerated and ready to use for baking bread.
- If it sinks, it likely needs another feeding before being used as a leavening agent for bread.
A sinking starter doesn’t mean it’s bad or unusable. It simply means it isn’t active enough to reliably raise a loaf yet.
Even if your starter sinks, it can still be used right away in sourdough discard recipes, where rise isn’t as critical.
A Gentle Reminder About the Float Test
The float test is just one tool. A starter can sometimes pass the float test and still need more strength, or fail the test and still bake decent bread. Paying attention to how your starter looks, smells, and behaves over time is often more reliable than any single test.
If you’re unsure, feeding your starter and giving it a little more time is almost always the best next step.
Common Starter Problems (And Why They’re Fixable)
If your starter:
- Isn’t rising much
- Seems sluggish
- Doesn’t look like photos of healthy starters included in this post
…it doesn’t mean you’ve failed.
Starters behave differently in every kitchen. Temperature, water, flour, and schedule all play a role. With a few consistent feedings, most starters bounce back easily.
A Gentle Reminder for Beginners
There’s a lot of noise online about the “right” way to maintain a sourdough starter. Try not to let that overwhelm you.
You don’t need:
- A scale
- Perfect timing
- Fancy flour
You just need:
- Consistency
- Observation
- Willingness to adjust
The perfect sourdough routine is the one that works for you and your family.
Where to Go Next
Once your starter feels predictable and healthy:
- Bake a simple no-knead sourdough loaf
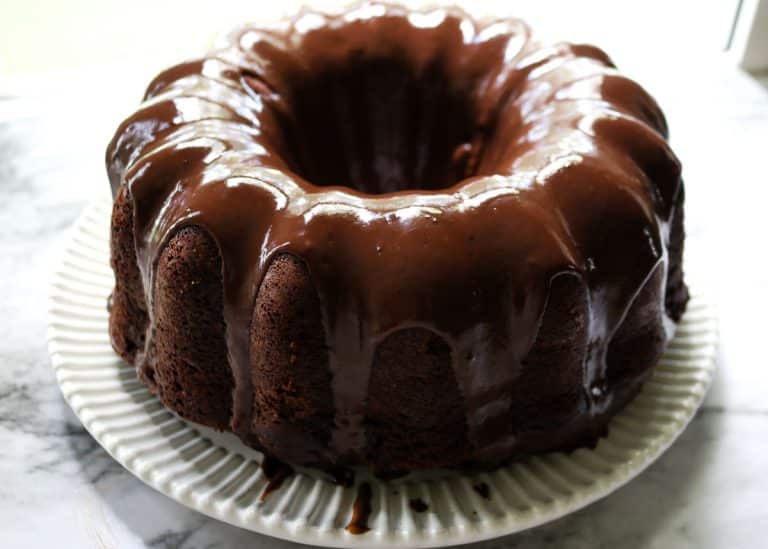
- Try a forgiving discard recipe, like banana bread
- Start paying attention to how dough responds to temperature and time
Sourdough gets easier the more familiar it becomes.
Final Thoughts
A healthy sourdough starter doesn’t require constant attention or perfection. With a simple feeding routine and flexible storage, sourdough can fit naturally into a from-scratch kitchen — and stay with you for years!