Homemade Vanilla Pudding (From Scratch, No Box Mix)
Last Updated on December 30, 2025 by Stephanie Gilpin
This old-fashioned vanilla pudding is made completely from scratch using whole milk, whole eggs, and arrowroot powder instead of cornstarch.
The result is a rich, creamy pudding with a smooth, custard-like texture and a deeper vanilla flavor than anything you’ll find in a store-bought pudding cup.
If you’ve only ever made pudding from a box, this recipe will surprise you.
It comes together in under 20 minutes, uses simple pantry ingredients, and relies on classic techniques—like tempering eggs—to create a naturally thick, protein-rich dessert without artificial flavors, colors, or preservatives.
Whether you’re looking for a school lunch treat, a nourishing snack, or a simple dessert to keep in the fridge for the week, this homemade vanilla pudding will quickly replace store-bought mixes for good.
Homemade Vanilla Pudding vs Store-Bought
Homemade vanilla pudding is made with simple, real ingredients and has a richer texture and flavor than boxed or pre-made pudding cups.
Homemade vanilla pudding:
- Made with whole milk and eggs
- Naturally higher in protein
- No artificial flavors or colors
- Sweetness can be adjusted to taste
Store-bought pudding:
- Often thickened with modified starches
- Low in protein
- Contains artificial flavors and preservatives
Why You’ll Love This Homemade Vanilla Pudding
This recipe makes a generous batch and contains about 68 grams of protein total, or roughly 8 grams per half-cup serving, thanks to whole milk and whole eggs. Most store-bought pudding cups contain only 1 gram of protein per serving.

Unlike packaged pudding mixes that rely on artificial flavors and stabilizers, this recipe uses just simple, recognizable ingredients. The flavor comes from real vanilla, butter, eggs, and milk—not additives.
Best of all, this vanilla pudding is quick to make and easy to fit into real life. I often make a batch at the beginning of the week so there’s always something ready when a sweet craving hits.
Homemade Pudding Is Simpler Than You Think
Pudding is one of the easiest from-scratch desserts you can make. If you can use a whisk and stir a pot, you can make homemade pudding.
This recipe does not rely on gelatin or unusual thickeners. Instead, it uses arrowroot powder, a natural starch similar to cornstarch, combined with eggs for a smooth, creamy texture.
If you prefer, cornstarch can be substituted, but arrowroot creates a slightly silkier finish.
What Is Arrowroot Powder?
Arrowroot powder is a plant-based starch commonly used as a thickener in cooking and baking. It behaves similarly to cornstarch but produces a clearer, smoother texture and works well in egg-based desserts like pudding.
If you don’t have arrowroot on hand, cornstarch will still work. However, arrowroot offers a gentle thickening power and is often easier to digest for some people.
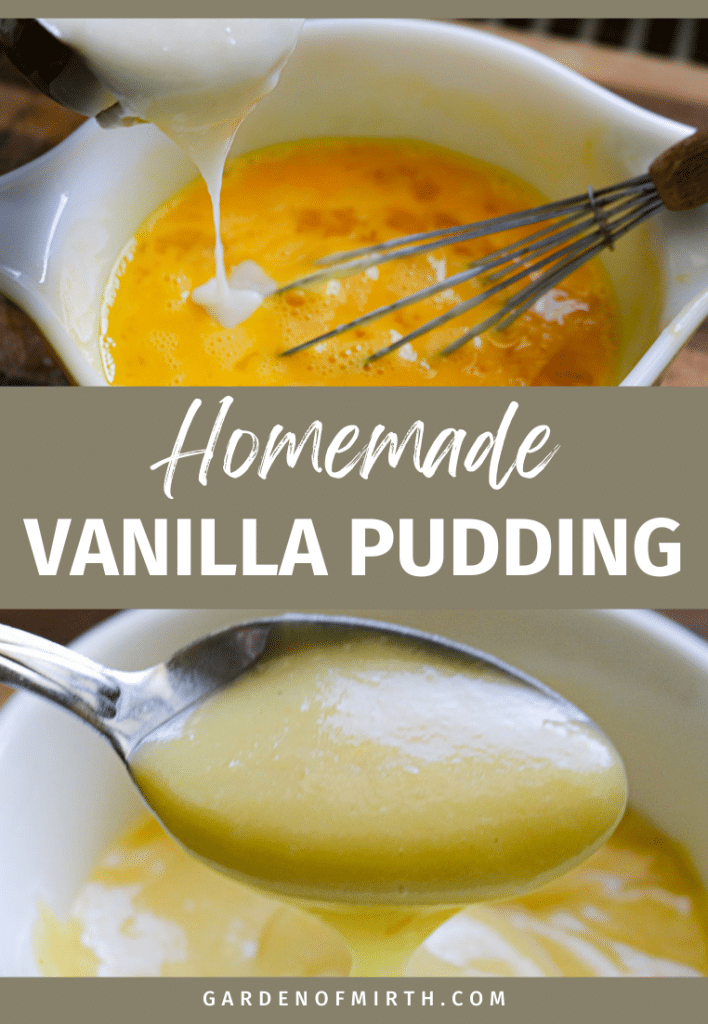
How to Temper Eggs for Pudding
This recipe uses whole eggs, which means tempering is required—but it’s much simpler than it sounds.
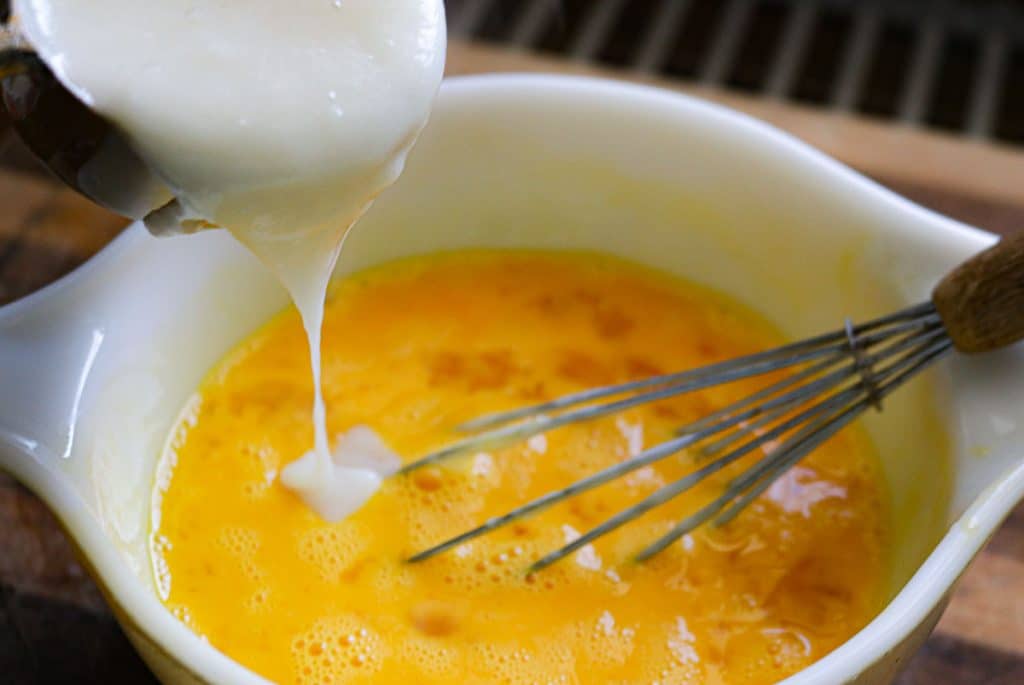
Tempering eggs is the process of slowly whisking hot liquid into beaten eggs to raise their temperature gradually. This prevents the eggs from scrambling and ensures a creamy, smooth pudding.
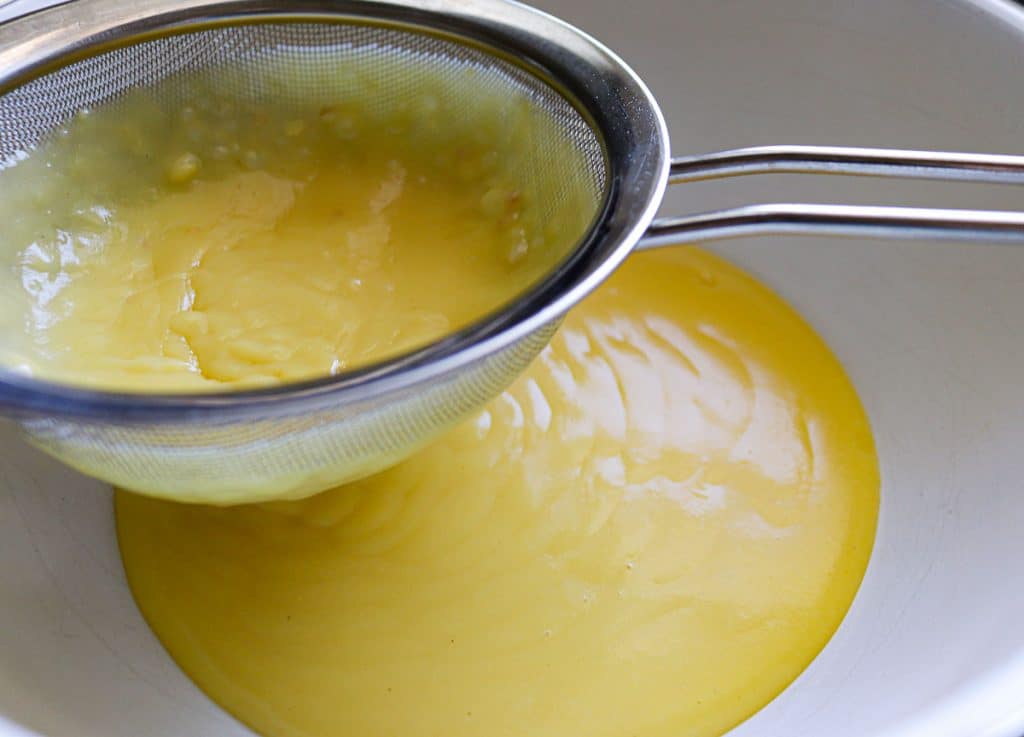
To be extra cautious, I always run the finished pudding through a fine mesh sieve. This guarantees a perfectly smooth result and removes any accidental cooked egg bits.
Helpful Kitchen Tools
- Heavy-bottom saucepan – prevents scorching and heats evenly
- Whisk – a regular or Danish whisk works well
- Small mixing bowl – for tempering eggs
- Fine mesh sieve – ensures a foolproof creamy pudding
Ingredients for Homemade Vanilla Pudding
When making simple recipes like this, ingredient quality matters. Using good ingredients makes a noticeable difference in flavor.
- Salted butter – adds richness and depth
- Vanilla extract – a high-quality vanilla provides the best flavor
- All-purpose flour – works with arrowroot to thicken
- White cane sugar – keeps the flavor clean and classic
- Arrowroot powder – thickens the pudding naturally
- Whole milk – creates a creamy texture
- Whole eggs – add richness and protein
- Salt – balances the sweetness
How to Make Homemade Vanilla Pudding
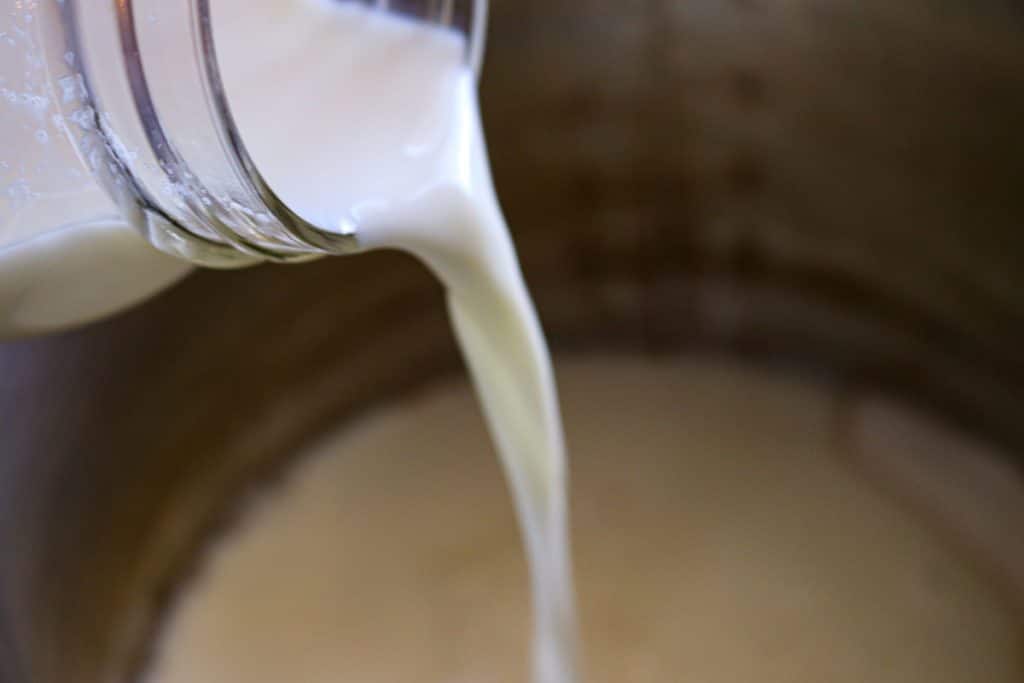
To a heavy-bottom saucepan, add the flour, sugar, salt, and arrowroot powder. Whisk to combine.

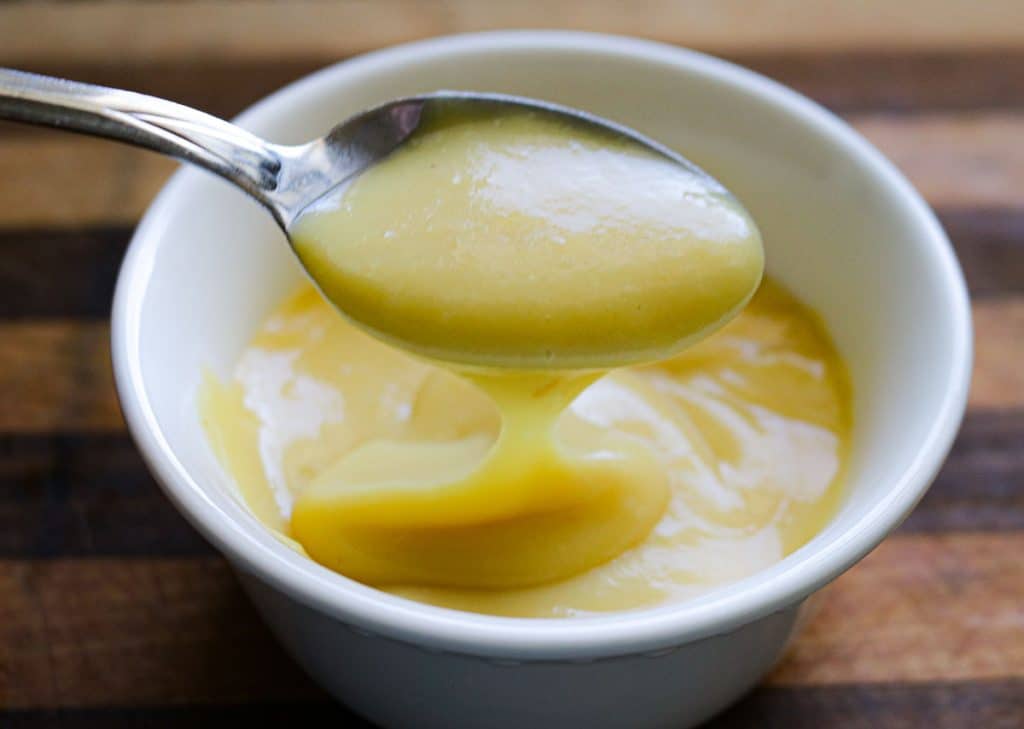
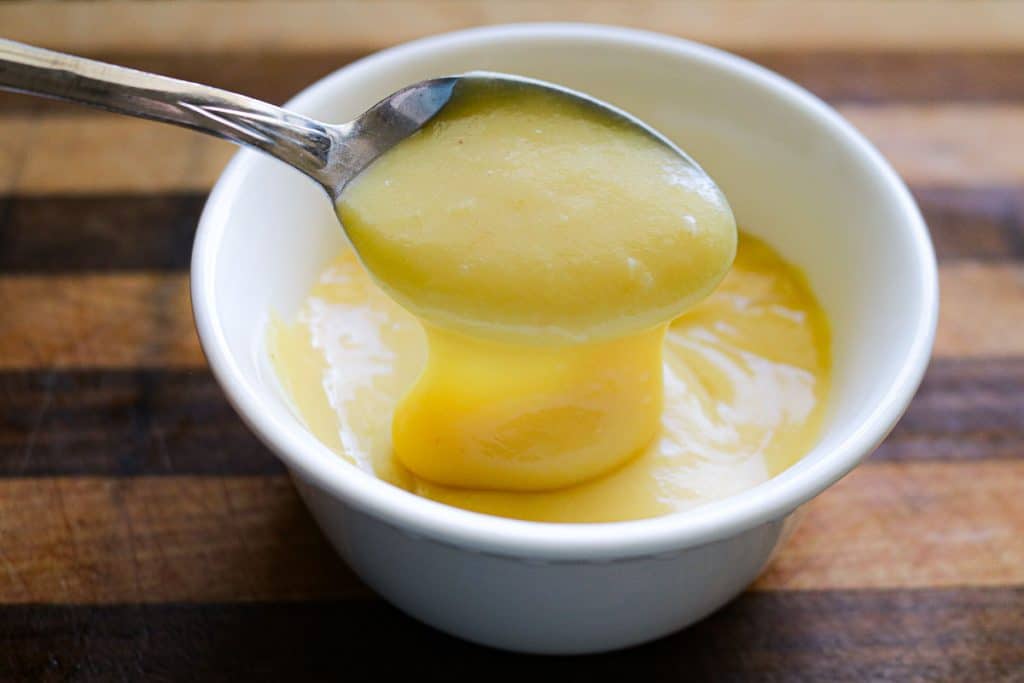
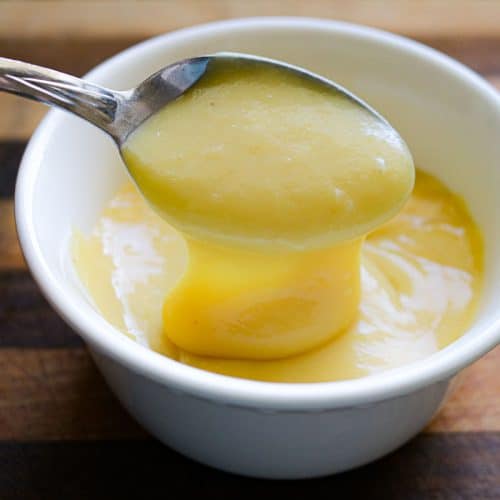
Slowly whisk in the milk until smooth. Heat over medium-low heat, stirring frequently and scraping the bottom of the pan, until the mixture thickens enough to coat the back of a spoon. This usually takes 8–10 minutes.
While the pudding cooks, beat the eggs well in a separate bowl. Slowly whisk about ⅓ cup of the hot pudding into the eggs to temper them, adding the hot mixture gradually until the eggs are warmed.
Return the egg mixture to the saucepan and cook on low heat for 2–3 minutes, stirring constantly. Do not boil.
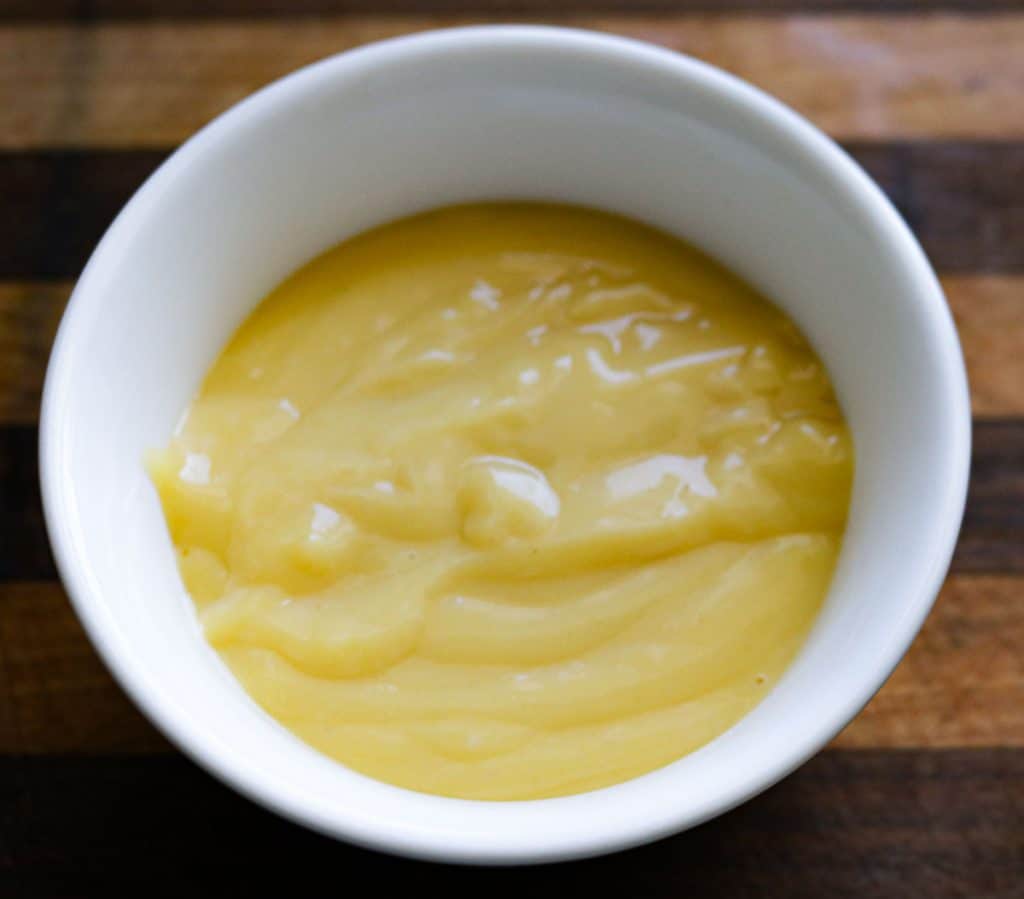
Remove from heat and pour the pudding through a fine mesh sieve into a clean bowl. Stir in the butter and vanilla until fully incorporated.
Serve warm or chill in the refrigerator.
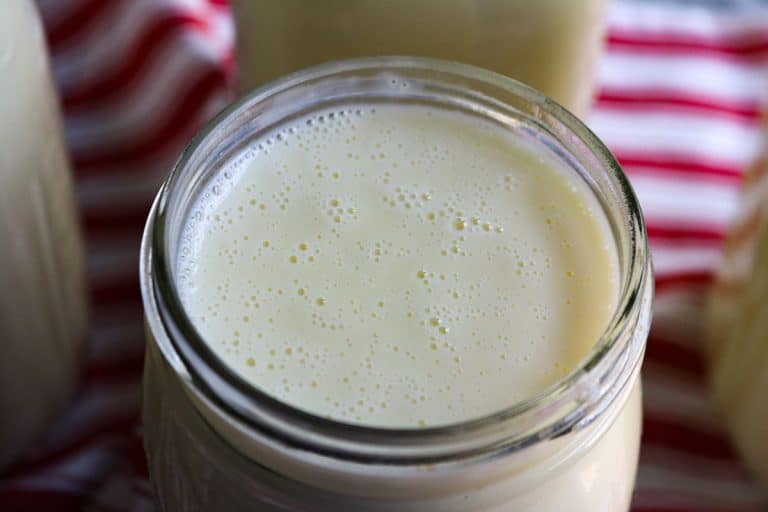
How to Store Homemade Vanilla Pudding
Store leftover pudding in an airtight container in the refrigerator for up to 4 days.
A skin may naturally form on the surface as it chills. This is harmless and can be stirred back in. If you prefer to prevent it, press plastic wrap directly onto the surface of the pudding before refrigerating.
How to Serve Homemade Vanilla Pudding
- Serve chilled or warm on its own
- Top with whipped cream and fresh fruit
- Layer with cake for an easy trifle-style dessert
- Spoon into mini graham cracker crusts for a simple, elegant treat
This pudding makes an excellent base for layered desserts.
Frequently Asked Questions
Is vanilla pudding the same as custard?
Vanilla pudding and custard are similar but not identical. Custard relies primarily on eggs for thickening, while pudding often uses starches. This recipe uses both eggs and arrowroot powder, giving it a custard-like texture.
Can I make vanilla pudding without cornstarch?
Yes. This recipe uses arrowroot powder instead of cornstarch, creating a smooth, creamy pudding without altering flavor.
Why does homemade pudding use eggs?
Eggs add richness, structure, and protein, creating a deeper flavor and silkier texture than starch-only puddings.
How do you keep eggs from scrambling in pudding?
By tempering the eggs slowly and cooking gently over low heat. Whisk constantly and avoid boiling.
Can vanilla pudding be served warm?
Yes. It can be enjoyed warm or chilled. Chilling enhances thickness and sweetness.
Printable Recipe Card:
Homemade Creamy Vanilla Pudding without Cornstarch
Ingredients
- 1/3 cup all purpose flour
- 1 cup white cane sugar
- 3/4 teaspoon salt
- 3 tablespoons arrowroot powder heaping
- 4 cups whole milk
- 6 whole eggs
- 2 teaspoons vanilla good quality preferred
- 1 tablespoon salted butter
Instructions
- To a heavy bottom sauce pot add flour, sugar, salt and arrowroot powder. Use a whisk to thoroughly combine the dry ingredients.
- Add 4 cups of milk to the dry ingredients and whisk to combine.
- Heat the pudding mixture over medium low heat until the mixture thickens enough to coat the back of a metal spoon. Stir frequently, making sure to scrape the bottom of the pan to prevent the mixture from sticking and scorching. Don’t rush this process, it can take around 8-10 minutes.
- While the pudding is cooking, add 6 whole eggs to a separate bowl and make sure to beat them well.
- Temper the eggs by slowly mixing in 1/3 cup of hot pudding into the eggs while whisking the eggs constantly as you pour. Continue adding pudding a little at a time until the egg mixture is nearly the same temperature as pudding.
- Add the warm egg mixture back into the pot of pudding and cook on low for 2-3 minutes, just to cook the eggs through stirring frequently. Do NOT bring the mixture to the boil.
- Once the pudding has cooked for a couple of minutes on low, turn off the burner.
- Place a fine mesh strainer or sieve over a clean bowl.
- Pour the pudding through the sieve. This ensures a fool proof creamy pudding! And if you happened to scramble any eggs in the process, this ensures no egg bits make it into your final pudding.
- Once you have worked all the pudding through the sieve add in a tablespoon of butter and two teaspoons of vanilla to the bowl and mix to combine.
- Serve warm or chill the pudding in the fridge.
- I think the absolute best way to serve this pudding is chilled, but my family also enjoys it warm. I find the sweetness of the pudding really comes through once chilled. Either way you serve it, once you make your own pudding you will never go back to store-bought pudding mixes!
Save this Recipe for Later: