Homemade Easy Vegetable Beef Soup Canning Recipe
Last Updated on January 16, 2026 by Stephanie Gilpin
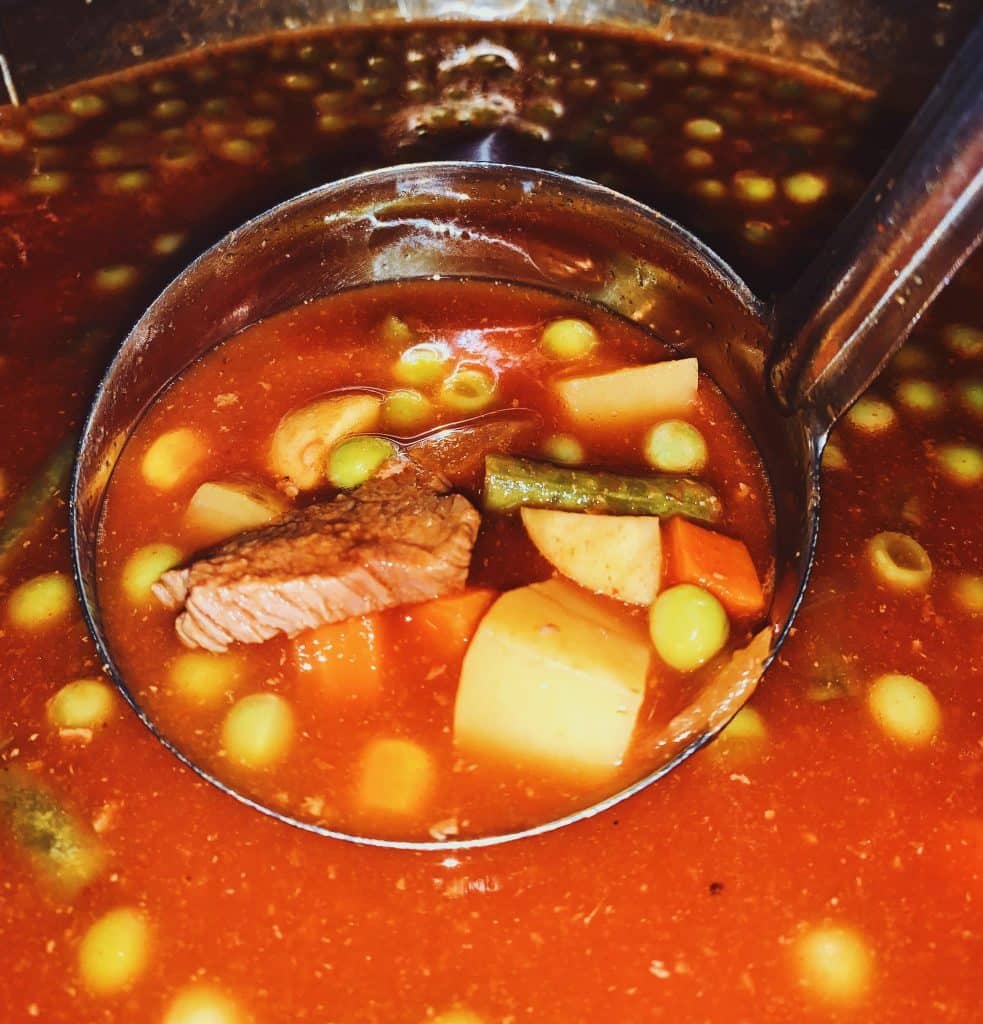
This delicious homemade vegetable beef soup has all of the garden fresh flavor of homegrown vegetables and savory beef in a tomato soup base in one convenient jar. Canning homemade soups is a great way to preserve fresh produce and make for an easy dinner on a long winter day.
While vegetable soup is an easy soup to make, we all have days where we don’t feel like cooking. Home canned soups are the perfect way to put healthy, homemade meals on the shelf for a rainy day. This homemade vegetable soup recipe is easy to make and can be changed to include all of your favorite vegetables.
Due to the addition of low acid vegetables and meat, this soup must be pressure canned to be safely canned. If you are new to pressure canning, don’t worry. This recipe is a great beginner pressure canning recipe and I will walk you through each step.
Ingredients:
- Prime rib, stew meat or roast chunks cut into 1 inch cubes or 1 pound cooked and drained ground beef (about 2-3 cups)
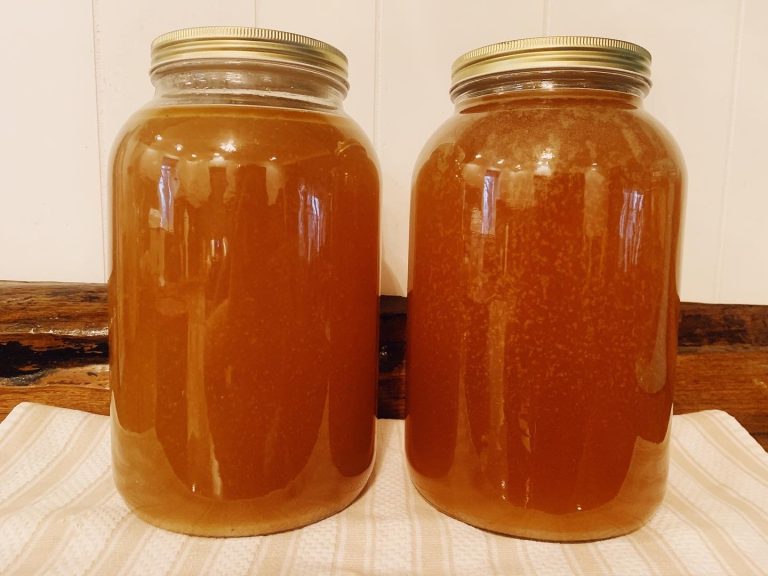
- 6 cups of Beef broth
- 6 cups of Tomato Juice or V8 (we prefer spicy V8 or spicy tomato juice for an added kick)
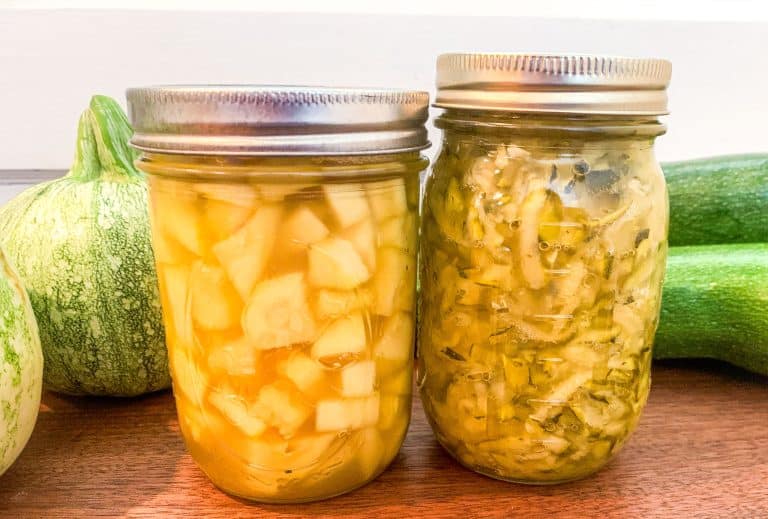
- 4-5 cups of mixed vegetables such as corn, peas, carrots, green beans, potatoes, okra, lima beans, tomatoes, etc.
- 3 tsp salt
- 1 tsp black pepper
What You Need:
- Soup Pot or Large Stock Pot
- Pressure canner or Electric Pressure Canner I have both a Presto brand 16 qt pressure canner and Presto Electric pressure canner and highly recommend both products.
- Mason jars with lids and bands (quarts or pints)
- Slotted spoon
- Ladle
- Canning Jar Lifter
- Canning funnel (optional but very nice to have)
Preparing Vegetable Beef Soup:
This canning recipe used the hot pack method meaning hot soup will be put into hot jars and then canned, so the soup will be assembled and heated before canning.
1. In a large stockpot add beef broth, tomato juice, cooked ground beef or beef chunks (cubed beef can be added raw), and mixed vegetables of your choice. Heat the soup over medium heat until it is boiling. Boil for 3-5 minutes or until all vegetables and meat are fork tender. Reduce the heat to a low simmer and keep warm as you fill the jars.
2. While the soup is cooking, wash and sterilize mason jars, lids and bands.
3. After washing the jars, bands and lids place the jars in the pressure canner and set it on the stove. Fill the pressure canner with the appropriate amount of hot water, according to your pressure canner manual. This will keep the jars hot until time to fill them.
4. Working one jar at a time, fill the jars to 1 inch head space using a canning funnel to keep jar rims clean. Use a slotted spoon to fill the jars halfway with solid ingredients and fill the rest of the way with the tomato beef broth using a ladle.
5. Wipe the rims with a clean wet paper towel, rotating the towel as you go to clean the jar rim.
6. Put on lid and band, screw on the band until just finger tight.
7. Place the filled jar back into the canner. Repeat the process until all jars are filled.
8. Put the canner lid on the pressure canner and turn the heat on the stove up to high heat. Make sure the weighted gauge is off of the lid.
9. Allow the water in the canner to come up to a boil and begin to release steam through the vent on the canner lid. Once the vent is consistently releasing steam, set a timer for ten minutes.
10. Once the vent has had steam flowing for 10 minutes, add the weighted gauge and allow the canner to come up to the proper pressure for your altitude. Use this article to determine the proper pounds of pressure needed for your altitude.
Canning Process:
Processing time will depend on the size of your jars. According to the National Center for Home Food Preservation guidelines, process pints for 60 minutes and quart jars for 75 minutes at 10 lbs of pressure (or the pressure needed for your altitude).
Once the time is up, turn off the burner and let the canner sit undisturbed until the pressure gauge reads 0 pounds of pressure and the vent lock drops. Even after the gauge reads zero the canner can have some residual pressure. Carefully remove the weighted gauge and allow the canner to sit for another 10 minutes.
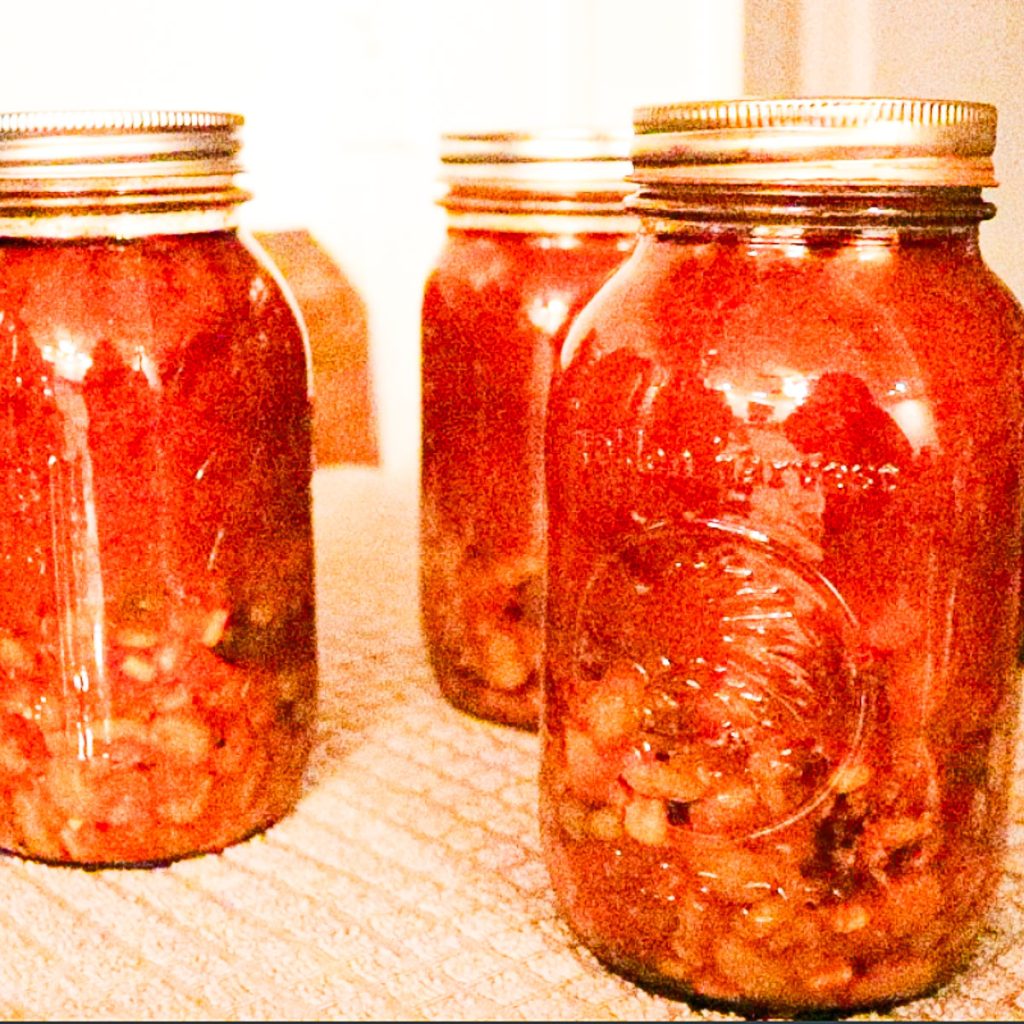
After ten minutes are up, remove the canner lid and let the jars sit in the hot water for another 10 minutes. Carefully remove the jars to a towel on the counter. Space the jars at least 2 inches apart and leave undisturbed for at least 12 hours. After 12 hours all lids should have sealed. Discard or immediately refrigerate (and use within 2-3 days) and jars that do not seal.
Storing the Jars and Labeling:
If the jars sealed, remove the rings and clean the jars with warm soapy water. At this point, the jars are shelf stable and can be stored at room temperature. Store in a cool dark place for optimal results. Use within 18 months for best quality.
Make sure to label the jars with the contents and processing dates.
Variations:
You can safely change this soup recipe to suit your taste buds. If you would rather have a rich broth based soup instead of a tomato sauce base you can safely do so. The meat in this recipe is the ingredient that requires the longest canning time, so no extra time is needed to change the base to broth only.
You can add Italian seasoning as desired for a different flavor, but add seasonings sparingly as the flavor will be intensified in the canning process.
You can change up the type of vegetables used in this hearty soup as well, just be sure each ingredient has been tested by the NCHFP and has processing time guidelines.
Things like dairy, pasta and rice can not be safely canned according to USDA guidelines, so those items should be added when reheating the canned soup.
This recipe must be pressure canned. It cannot be safely water bath canned due to the low acid vegetables, broth and meat.